9 Seashell Crafts DIY Home Decor Ideas That Will Bring the Beach to Your Home
The global home decor market reached over $700 billion in 2023, yet some of the most admired coastal interiors are built not from store shelves but from a bucket of shells collected on a Sunday walk along the shore. These 9 Seashell Crafts DIY Home Decor Ideas That Will Bring the Beach to Your Home prove that you do not need a renovation budget or a designer on speed dial to create a space that feels like a permanent seaside escape. Whether you live two minutes from the ocean or two thousand miles away, seashell crafts are one of the most accessible, affordable, and genuinely satisfying ways to transform your living space. I have spent years experimenting with coastal DIY projects, and the nine ideas in this guide represent the best of what actually works in real homes.
Disclosure: This post contains affiliate links. As an Amazon Associate, we earn from qualifying purchases, and at no extra cost to you.
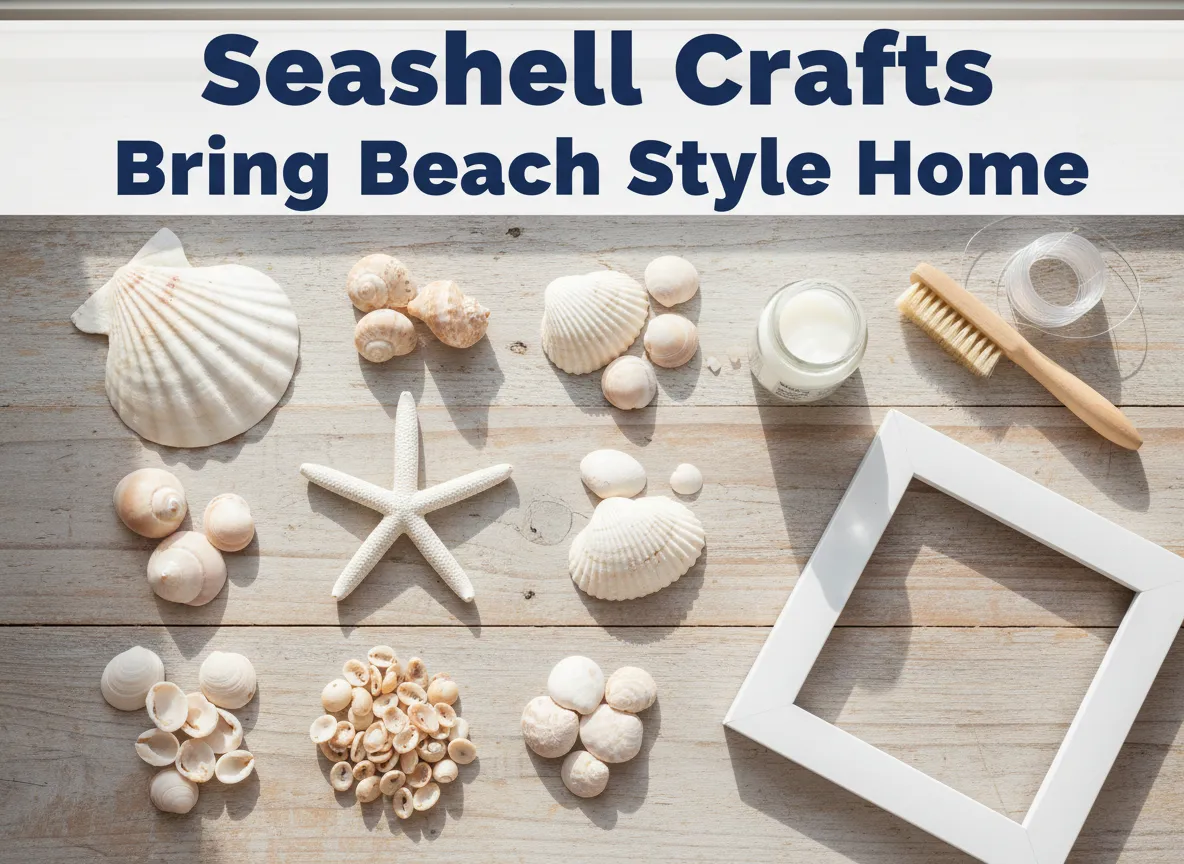
Key Takeaways
- Seashell crafts require minimal tools and budget, making them ideal for beginners and experienced crafters alike.
- Cleaning and preparing your shells properly before crafting is the single most important step for long-lasting results.
- The nine projects in this guide range from simple afternoon activities to weekend-long creative sessions, covering every skill level.
- Mixing shell sizes, textures, and colors creates more visually dynamic decor than using uniform shells.
- Most of these projects can be completed with materials already found at home, a craft store, or a dollar store.
Why Seashell Crafts Are the Best Way to Bring Coastal Style Home
Before diving into the specific projects, it is worth understanding why seashell crafts have maintained such enduring popularity in home decor. Coastal design has ranked among the top interior style trends for over a decade, according to data from the American Society of Interior Designers. But beyond trend cycles, there is something deeply personal about working with shells. Each one carries a story, a specific beach, a specific moment.
I remember filling a canvas tote with shells during a trip to the Outer Banks in North Carolina. For months, that bag sat in my garage. Then one rainy Saturday, I spread everything out on my kitchen table and started sorting by size and color. By the end of the weekend, I had made three of the projects on this list. That bag of shells became a mirror frame, a set of candle holders, and a small wind chime that still hangs on my back porch.
The practical case for seashell crafts is equally strong:
- Shells are free if collected personally, or very inexpensive when purchased in bulk.
- Most projects require only basic craft supplies: glue, wire, paint, and a few tools.
- Finished pieces are genuinely unique because no two shells are identical.
- Seashell decor works across multiple interior styles, from full coastal to farmhouse, bohemian, and even modern minimalist.
“The best home decor tells a story. A seashell wreath or a driftwood mirror does not just fill a wall. It holds a memory.” – Common wisdom among coastal interior designers
Getting Started: Preparing Your Shells for Any Craft Project
No matter which of these 9 Seashell Crafts DIY Home Decor Ideas That Will Bring the Beach to Your Home you choose to tackle first, proper shell preparation is non-negotiable. Skipping this step is the number one reason DIY seashell projects end up smelling musty or falling apart within months.
Step-by-step shell preparation process:
- Rinse shells thoroughly under cold running water to remove sand and loose debris.
- Soak shells in a solution of one part bleach to three parts water for 30 minutes to kill bacteria and remove organic material.
- Scrub each shell with an old toothbrush, paying attention to ridges and crevices.
- Rinse again with clean water and allow shells to air dry completely on a towel for at least 24 hours.
- Optional: Apply a thin coat of mineral oil or clear craft sealer to enhance natural color and add durability.
Tools and materials to have on hand before starting any project:
| Item | Purpose | Estimated Cost |
|---|---|---|
| Hot glue gun and glue sticks | Bonding shells to surfaces | $8-$15 |
| E6000 craft adhesive | Heavy-duty bonding for heavier shells | $5-$10 |
| Clear acrylic sealer spray | Protecting finished projects | $6-$12 |
| Wire cutters and jewelry wire | Wind chimes and mobiles | $4-$8 |
| Drill with small bit | Drilling holes in shells | $0 (if owned) |
The 9 Seashell Crafts DIY Home Decor Ideas That Will Bring the Beach to Your Home
1. Seashell Photo Frame
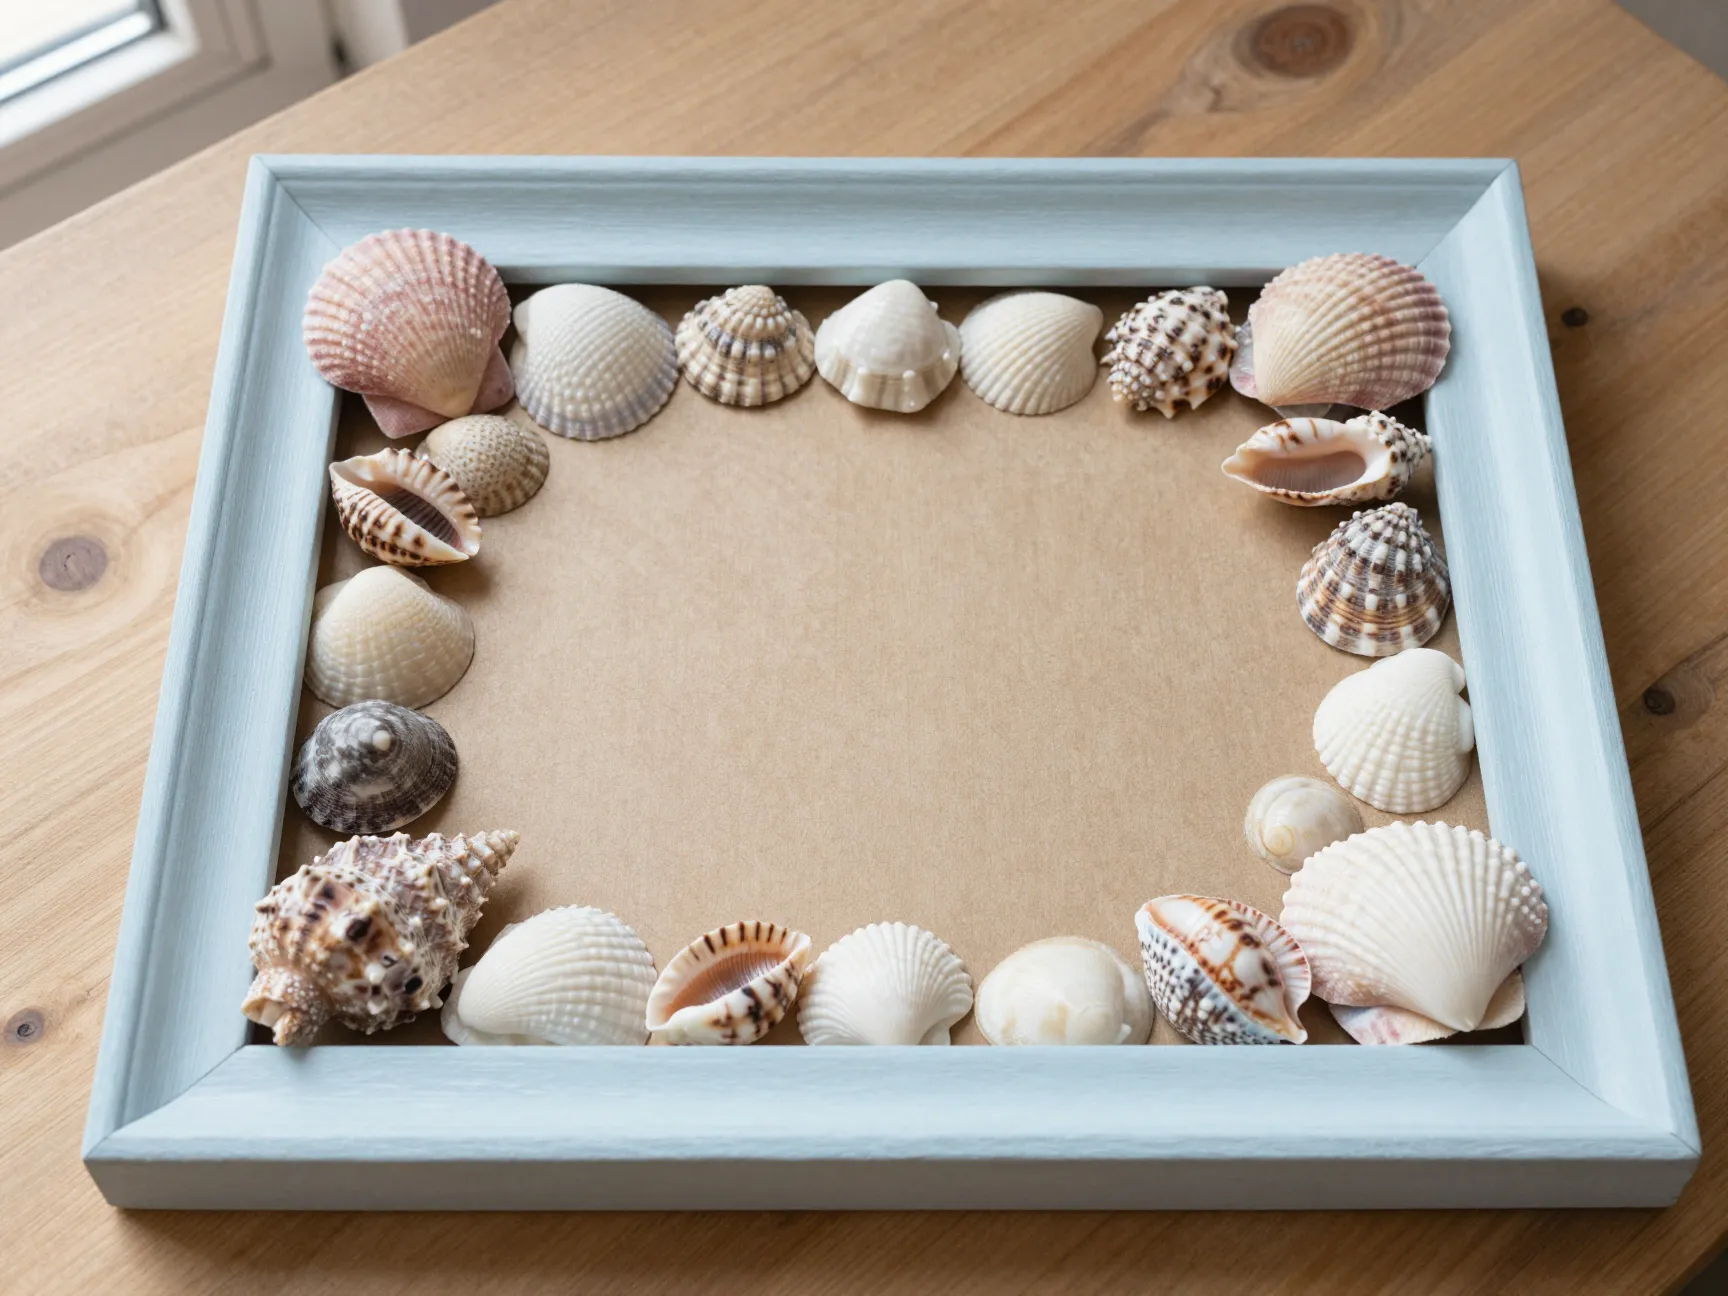
A plain wooden or plastic photo frame becomes a stunning coastal centerpiece with the addition of shells. This is often the first project I recommend to beginners because the process is forgiving, the results are immediate, and the finished piece is genuinely useful.
What you need: A flat wooden frame, hot glue gun, assorted shells in varying sizes, optional acrylic paint for the base frame.
How to make it: Paint the frame in a neutral color like white, sand, or pale blue if desired. Allow it to dry fully. Working in small sections, apply hot glue and press shells firmly into place. Start with your largest shells at the corners, then fill gaps with smaller shells and tiny fragments. Overlap shells slightly for a layered, natural look. Seal the finished frame with clear acrylic spray.
Pro tip: Arrange your shells on the frame without glue first. Take a photo of the layout you like before committing. This saves a lot of frustration.
2. Seashell Candle Holders
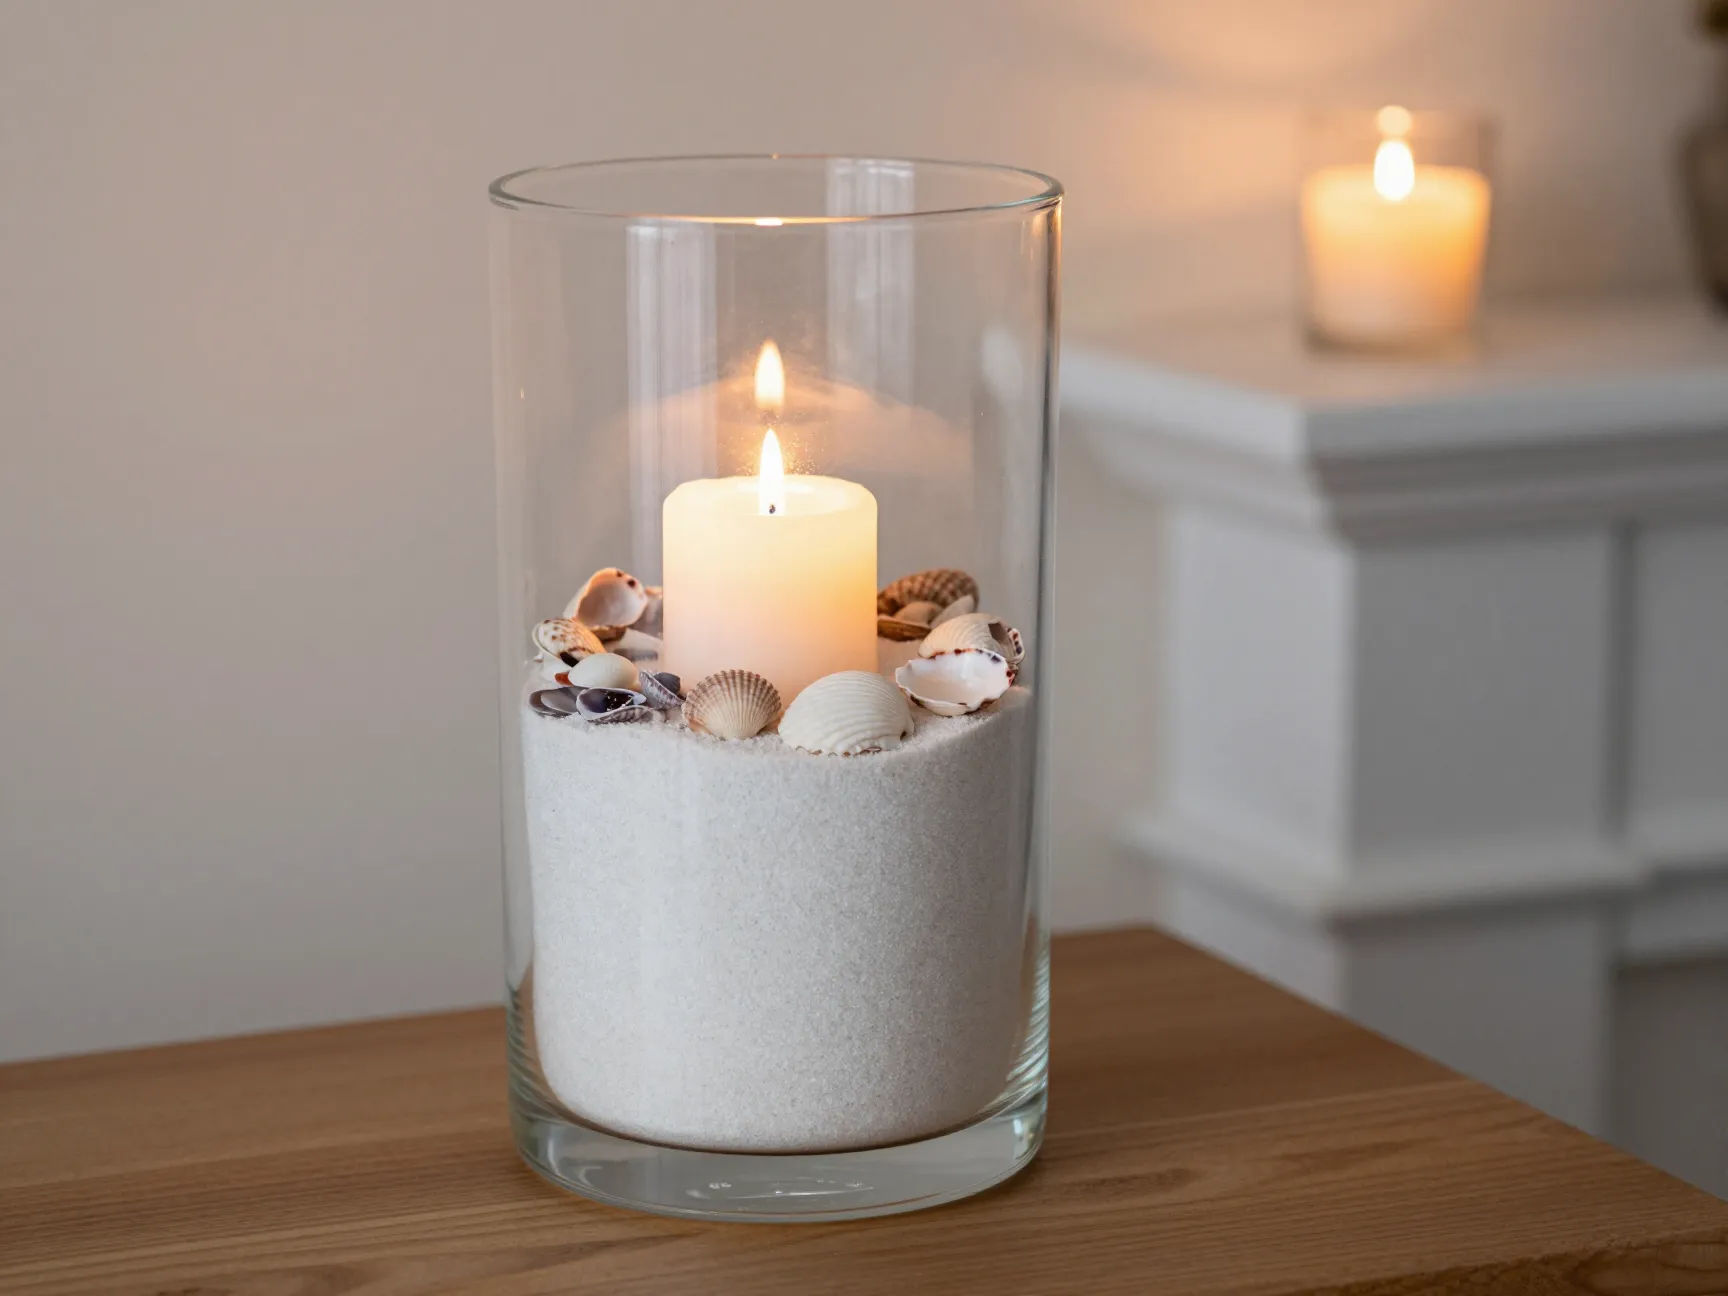
Few things create coastal ambiance as effectively as candlelight filtered through a glass vessel filled with shells. This project takes under 30 minutes and costs almost nothing if you already have glass jars at home.
What you need: Clean glass jars or hurricane vases, assorted small shells, votive or pillar candles, optional sand or sea glass for layering.
How to make it: Pour a thin layer of sand into the bottom of the jar. Add a layer of small shells. Continue alternating layers of sand and shells until the jar is about two-thirds full. Nestle a votive candle on top. For a cleaner look, simply fill the bottom third of a tall hurricane vase with shells and set a pillar candle inside.
Safety note: Never leave burning candles unattended, and ensure the candle flame cannot reach the shell layers below.
3. Seashell Wind Chime
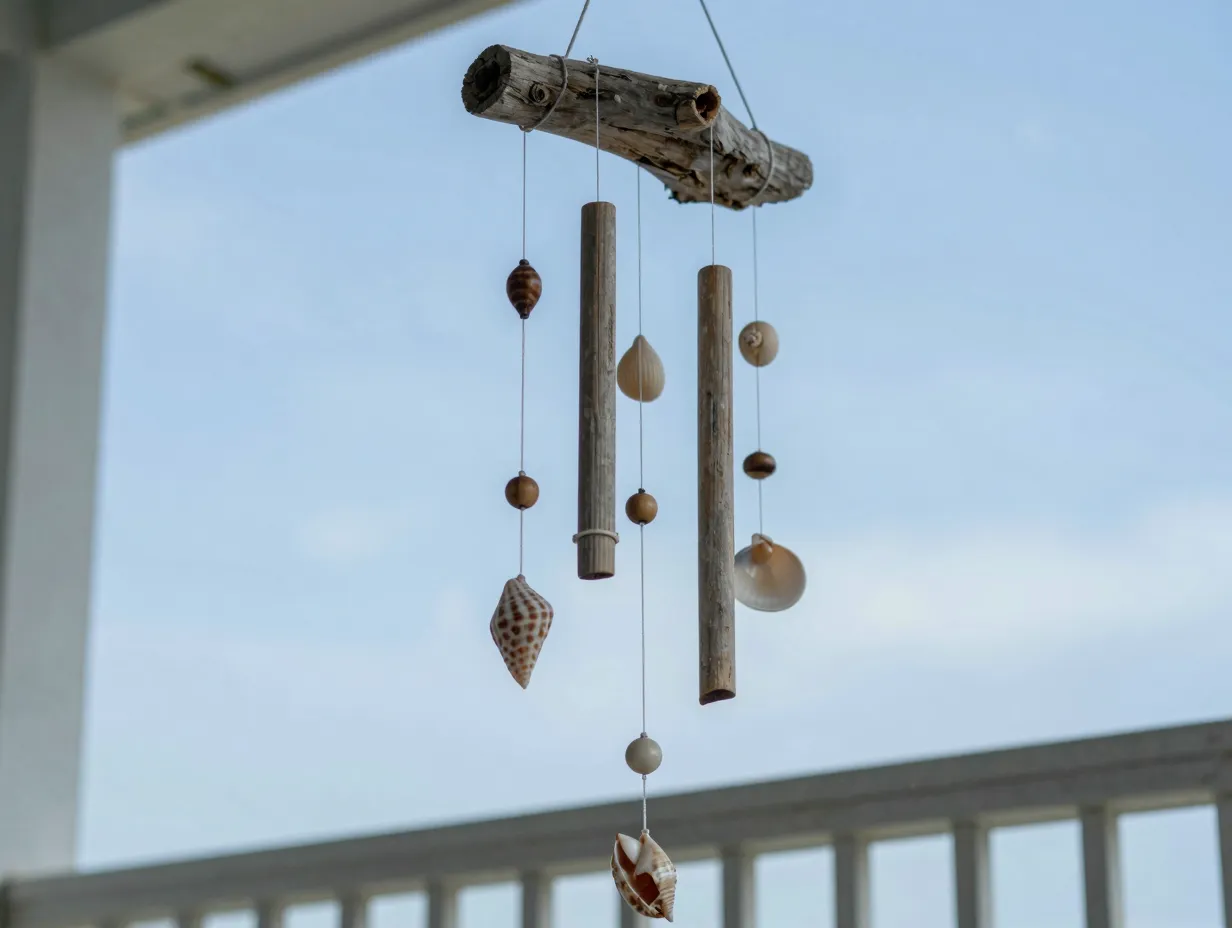
This is one of the most rewarding projects on this list because the finished piece engages two senses: sight and sound. The gentle clinking of shells on a summer breeze is one of the most relaxing sounds in any outdoor space.
What you need: A piece of driftwood or a sturdy dowel rod, fishing line or nylon cord, an assortment of shells with natural holes or drilled holes, optional beads or sea glass.
How to make it: Drill small holes in shells that do not already have them. Cut five to seven lengths of fishing line in varying lengths, from about 8 inches to 14 inches. Thread shells onto each line, knotting between each shell to keep them spaced. Tie the top of each line to the driftwood, spacing them evenly. Attach a hanging cord to both ends of the driftwood. Hang in a location where it catches the breeze.
Variation: Add small wooden beads or pieces of sea glass between shells for added color and texture.
4. Seashell Mirror Frame
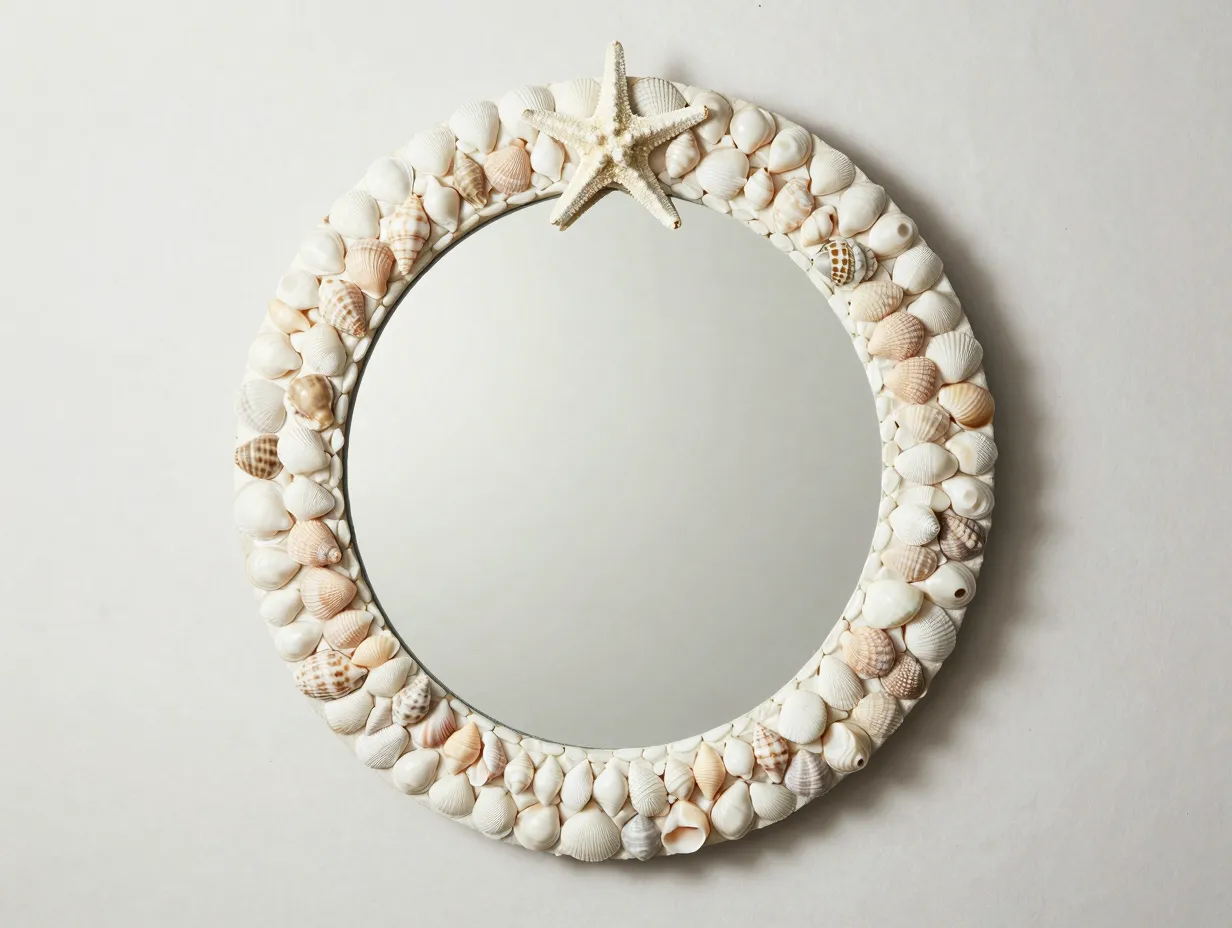
This project takes more time and shells than the photo frame, but the result is a genuine statement piece. A seashell mirror can anchor an entryway, a bathroom wall, or a bedroom dresser area with serious coastal elegance.
What you need: A flat-framed mirror (round or rectangular), E6000 adhesive, a large collection of shells in varied sizes, optional starfish or sand dollars for focal points.
How to make it: Clean the mirror frame thoroughly. Plan your layout by arranging shells on the frame without glue first. Place your largest, most dramatic shells first, typically at the top and bottom center or at the four corners. Fill in with medium shells, then use tiny shells and fragments to fill every gap. Use E6000 for heavier shells and hot glue for lighter ones. Allow the adhesive to cure for 24 to 48 hours before hanging.
Design tip: A monochromatic shell palette, all white shells or all natural brown tones, creates a sophisticated, gallery-quality look. Mixed colors read as more playful and casual.
5. Seashell Wreath
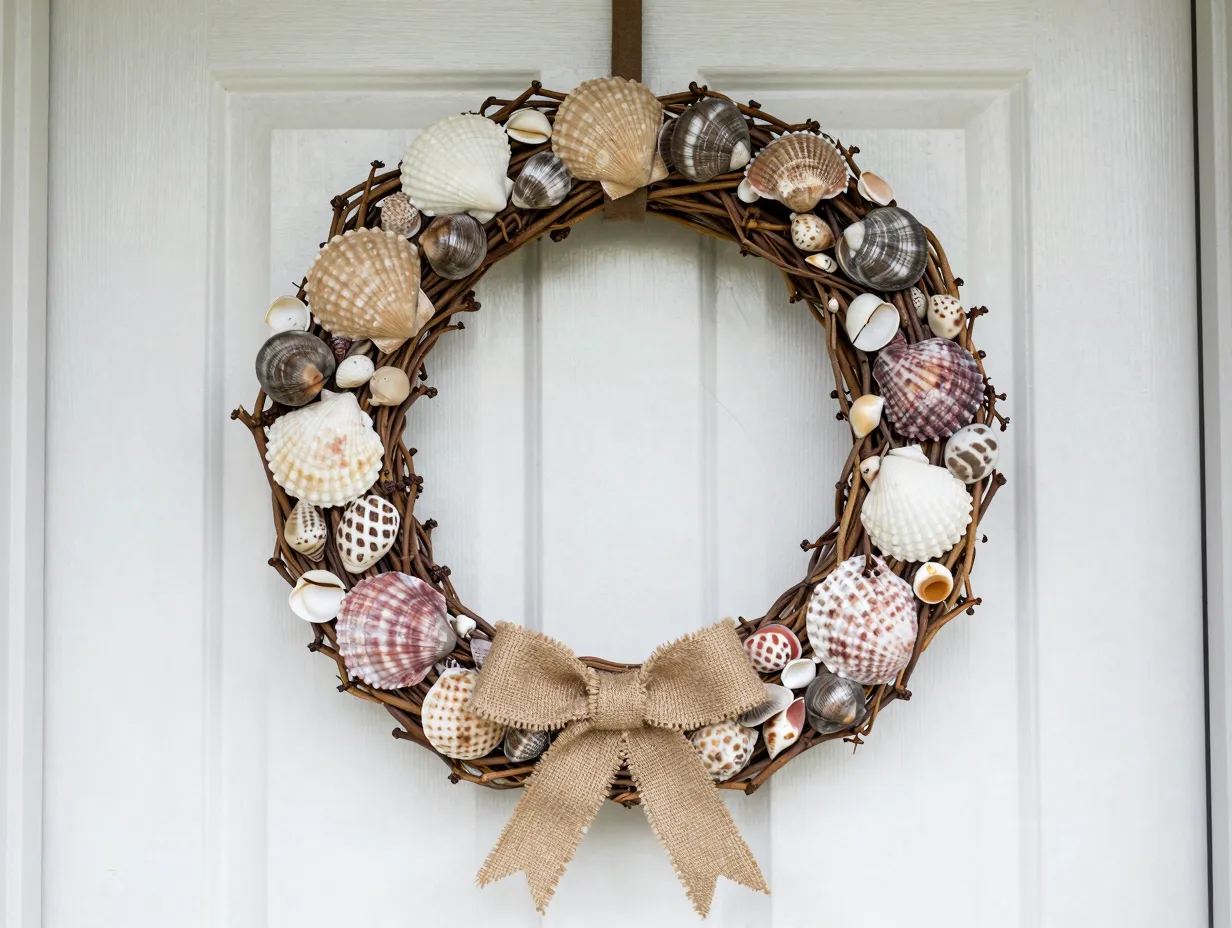
A seashell wreath works beautifully on a front door, above a fireplace mantel, or on any interior wall. It is one of the most versatile pieces you can make, transitioning easily between seasons with minor additions like ribbon or dried botanicals.
What you need: A grapevine or foam wreath base, hot glue gun, a large variety of shells, optional ribbon, dried flowers, or starfish accents.
How to make it: Begin by gluing your largest shells around the wreath, spacing them evenly to create a visual rhythm. Fill between large shells with medium shells, then pack smaller shells and fragments into every remaining gap. Work in sections to avoid the glue cooling before you press the shells in place. Add any accent pieces like starfish or a ribbon bow last.
Seasonal adaptation: In summer, leave the wreath natural. For fall, add a few dried eucalyptus sprigs. For winter, weave in some white ribbon and silver-painted shells.
6. Seashell Soap Dish or Tray
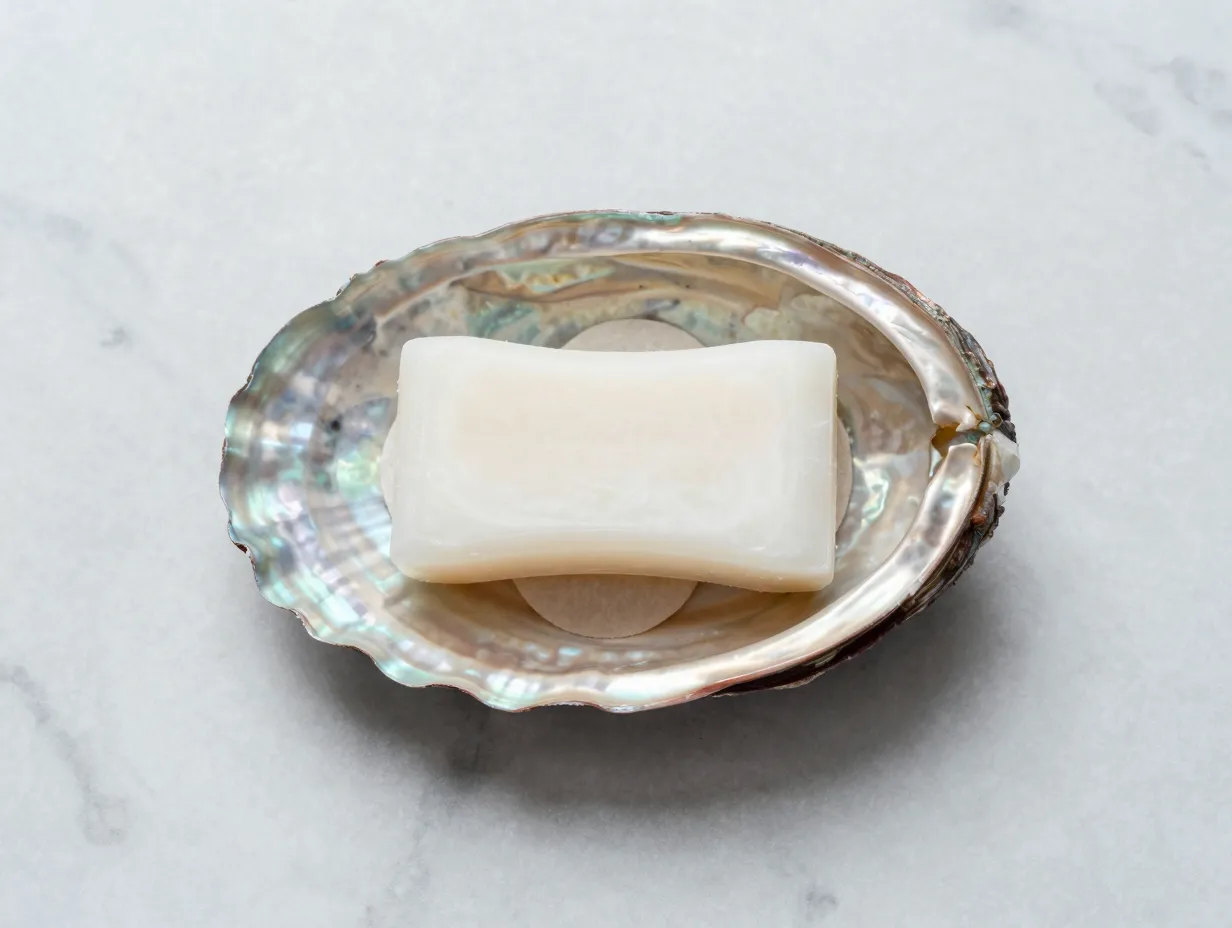
This is one of the most practical projects on this entire list. A large scallop shell or abalone shell makes a beautiful natural soap dish, while a shallow wooden tray decorated with shells becomes an elegant bathroom or vanity organizer.
What you need: A large flat shell (scallop, abalone, or clam) or a shallow wooden tray, small shells for decoration, E6000 adhesive, optional felt pads for the bottom.
How to make it: For a single shell soap dish, simply clean and seal a large flat shell and attach small felt pads to the underside to protect surfaces. For a decorated tray, glue an arrangement of shells around the inner edges or along the rim. Seal the entire piece with waterproof acrylic sealer, especially if it will be used in a bathroom.
Practical note: Apply two to three coats of waterproof sealer to any piece that will be exposed to moisture or water.
7. Seashell Mobile
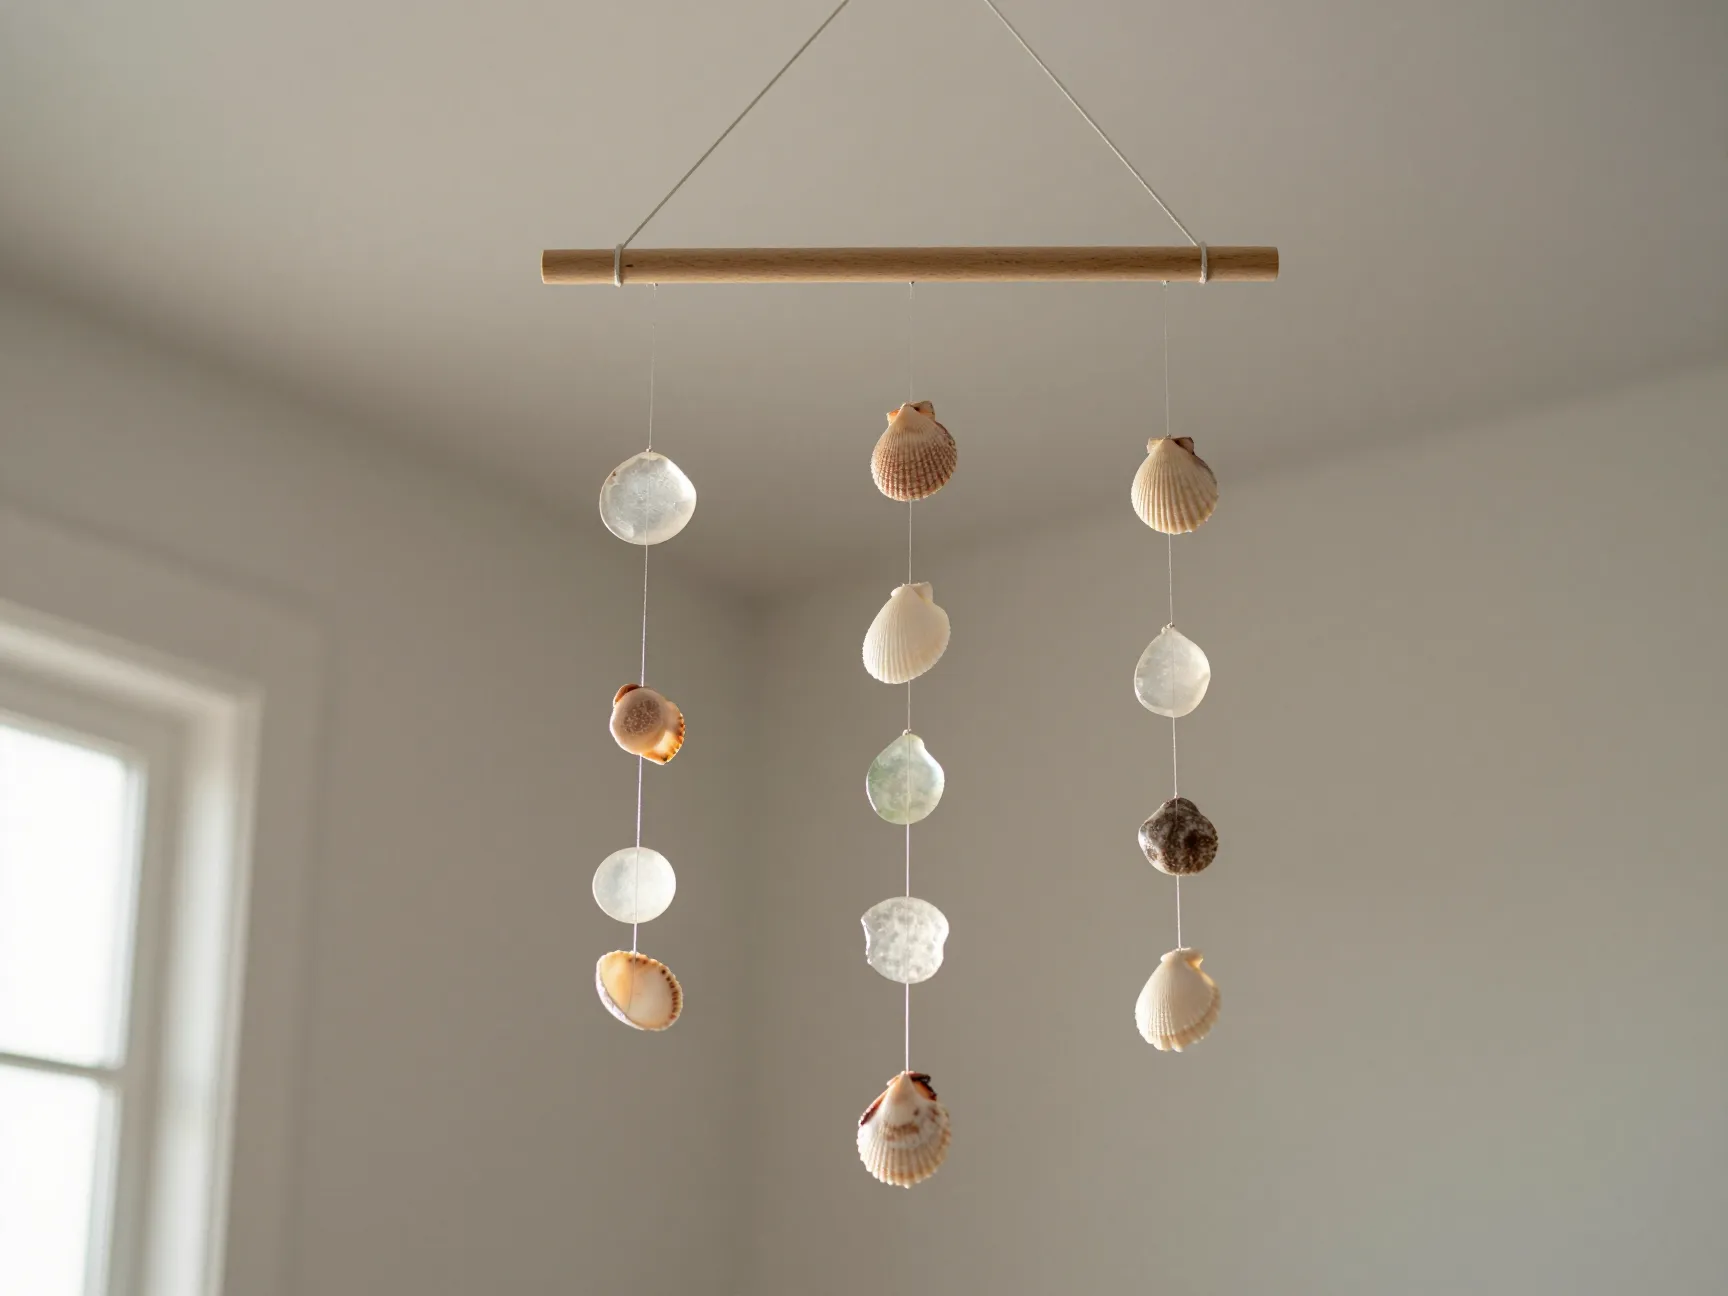
A seashell mobile brings movement and gentle sound to any room. It works especially well in a nursery, a sunroom, or hanging near a window where it catches light and air movement. This project is slightly more technical than the others but produces a genuinely stunning result.
What you need: A thin wooden dowel or piece of driftwood, fishing line, an assortment of shells with holes, optional small pieces of sea glass or driftwood for variety.
How to make it: Cut three to five lengths of fishing line in varying lengths. Thread shells onto each line, knotting between each one. Tie each line to the dowel at evenly spaced intervals. Attach a single hanging line to the center of the dowel. The key to a mobile that hangs level is balance: adjust the position of each hanging line until the dowel sits horizontally. This takes patience but is very achievable.
Hanging tip: Use a small ceiling hook rated for at least twice the weight of your finished mobile.
8. Seashell Garden Stepping Stones
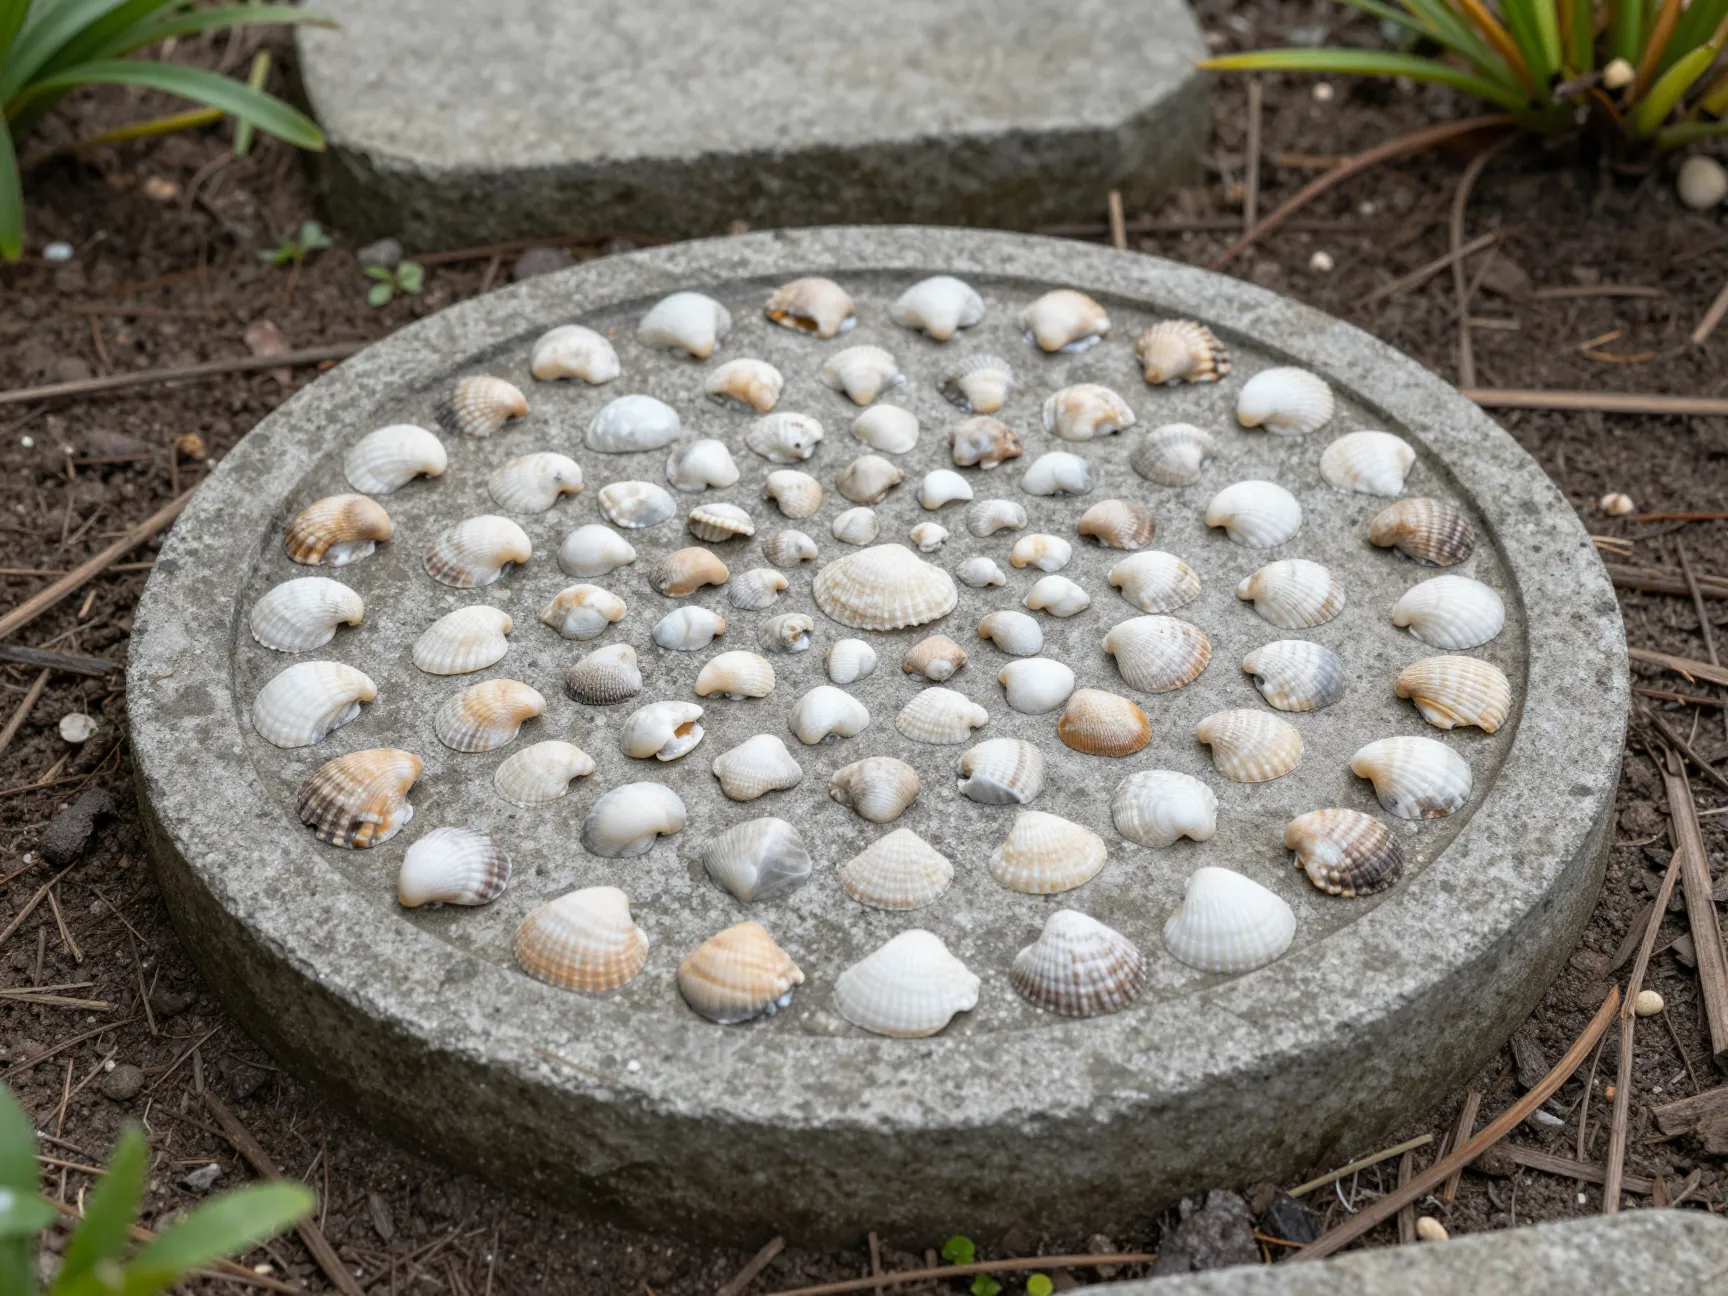
Bringing the beach indoors is wonderful, but bringing it outdoors into your garden is equally satisfying. Seashell stepping stones are durable, weather-resistant, and genuinely beautiful in a coastal or cottage garden.
What you need: Quick-setting concrete mix, a mold (a disposable pie tin or a purpose-made stepping stone mold), assorted shells, cooking spray for the mold.
How to make it: Spray the mold lightly with cooking spray. Mix concrete according to package directions and pour into the mold to about 1.5 inches deep. Allow the concrete to set for about 20 to 30 minutes until it is firm but not fully hard. Press shells into the surface in your desired pattern. Allow the stone to cure fully for at least 48 hours before removing from the mold. Cure for an additional 24 hours before placing in the garden.
Design idea: Arrange shells in a spiral pattern from the center outward for a visually striking, organic design.
9. Seashell Lampshade Accent
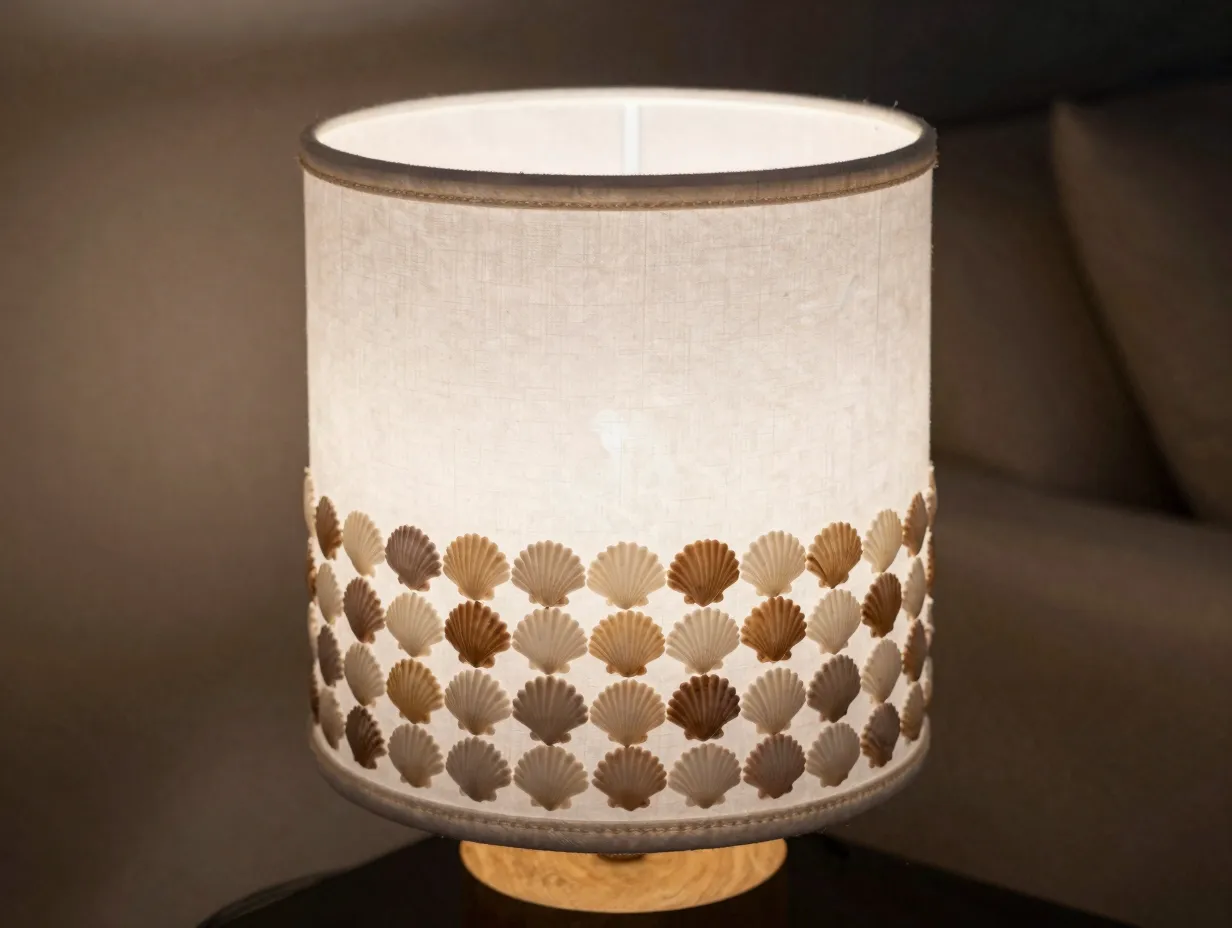
This final project is the most dramatic transformation on the list. Adding shells to a plain lampshade creates a piece that looks like it belongs in a high-end coastal boutique hotel. When the lamp is turned on, light filters through and around the shells in a way that is genuinely magical.
What you need: A plain white or cream fabric lampshade, E6000 adhesive, small to medium flat shells (avoid very heavy or thick shells), optional twine or jute trim for the top and bottom edges.
How to make it: Work with the lampshade lying on its side. Apply E6000 to the back of each shell and press firmly onto the shade. Hold each shell in place for 30 to 60 seconds. Work in rows from the bottom up, or create a random scattered pattern. Allow the adhesive to cure fully for 48 hours before using the lamp. Add jute trim around the top and bottom edges for a polished, finished look.
Important safety note: Only use LED bulbs in a lampshade decorated with shells. LED bulbs produce very little heat, which is essential for safety when any material is attached to a shade.
Tips for Sourcing the Best Shells for Your Projects
Not everyone lives near a beach, and even those who do may not always find the right shells in the right quantities. Here are the most reliable ways to source shells for these 9 Seashell Crafts DIY Home Decor Ideas That Will Bring the Beach to Your Home.
Collecting your own shells:
- Always check local regulations before collecting shells from beaches. Many protected areas prohibit shell removal.
- The best time to collect is after a storm, when the tide brings fresh material to shore.
- Bring a mesh bag so sand drains away as you collect.
Buying shells:
- Craft stores like Michaels and Hobby Lobby carry bags of assorted shells year-round.
- Online marketplaces like Etsy and Amazon offer bulk shell lots in specific types and sizes.
- Dollar stores often carry small bags of shells, especially in summer months.
- Thrift stores occasionally have jars or bags of shells at very low prices.
Shell types best suited for crafts:
| Shell Type | Best Use | Characteristics |
|---|---|---|
| Scallop | Frames, soap dishes, wreaths | Flat, fan-shaped, strong |
| Auger/Turritella | Wind chimes, mobiles | Naturally hollow, lightweight |
| Cowrie | Frames, jewelry, accents | Smooth, glossy, uniform |
| Clam | Trays, stepping stones | Flat, sturdy, large surface area |
| Conch | Statement pieces, wreaths | Large, dramatic, striking color |
Common Mistakes to Avoid in Seashell Crafts
Even experienced crafters run into problems with seashell projects. Here are the most common mistakes and how to avoid them.
Using the wrong adhesive: Hot glue is fast and convenient but not always the strongest choice for heavy shells or outdoor projects. Use E6000 for anything that needs to bear weight or withstand moisture.
Skipping the sealing step: Unsealed shells in humid environments like bathrooms can develop a musty odor over time. Always seal finished pieces with a clear acrylic spray.
Overcrowding the design: More shells does not always mean better results. Some of the most elegant seashell decor uses negative space intentionally. Leave room for the eye to rest.
Using shells that are too similar in size: A mix of large, medium, and small shells creates visual depth and interest. All-uniform shells tend to look flat and manufactured.
Not testing the layout first: Always arrange your shells without glue before committing. This is especially important for frames and wreaths where the overall composition matters.
Conclusion
These 9 Seashell Crafts DIY Home Decor Ideas That Will Bring the Beach to Your Home cover the full range of what is possible with shells, from a simple afternoon candle holder project to a weekend-long decorative mirror. The common thread across all nine is that they are genuinely achievable for crafters at any skill level, they produce results that look far more expensive than they are, and they create a tangible connection to the natural world inside your home.
Your actionable next steps:
- Start with one project this weekend. The seashell candle holders or the photo frame are ideal first projects because they require minimal materials and produce fast results.
- Gather your shells and supplies before you begin. Having everything on hand before you start prevents mid-project trips to the store that kill momentum.
- Prepare your shells properly. Clean, dry, and seal your shells before any crafting begins. This single step determines whether your finished pieces last for years or months.
- Document your process. Take photos as you work. These become useful reference points for future projects and make excellent social media content if you share your crafts.
- Experiment with scale. Once you have completed one project successfully, challenge yourself with a larger or more complex version. The seashell mirror or the lampshade accent are natural next steps after mastering the basics.
The beach does not have to be a destination you visit once a year. With the right shells and a few hours of creative work, it can be a permanent feature of the home you live in every day.