8 Wardrobe Interior Design Hacks for Maximum Storage and Style
The average person spends 17 minutes every morning searching for something to wear, that is nearly two full weeks of lost time every year, according to a survey by ClosetMaid. The good news? The problem is almost never a shortage of space. It is a shortage of strategy. These 8 wardrobe interior design hacks for maximum storage and style will help you reclaim that time, reduce daily stress, and turn a chaotic closet into a space that actually works for you.
Disclosure: This post contains affiliate links. As an Amazon Associate, we earn from qualifying purchases, and at no extra cost to you.
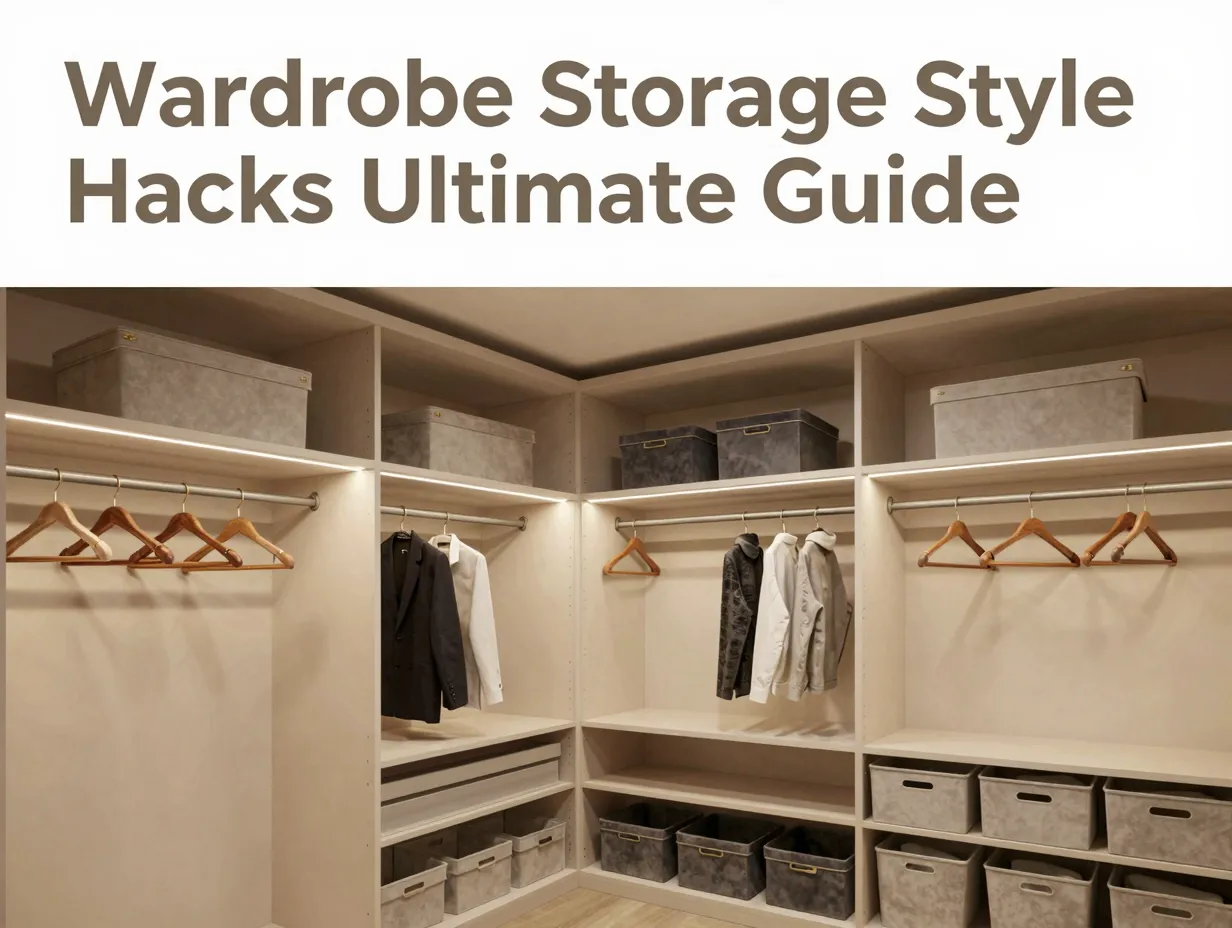
Whether you are dealing with a narrow reach-in wardrobe in a city apartment or a generous walk-in that somehow still feels disorganized, the principles are the same: smart zoning, intentional hardware choices, and a few clever tricks that professional interior designers use every day. I have applied every one of these hacks in my own home and in projects I have advised on, and the results are consistently transformative.
Key Takeaways
- Vertical space is almost always underused, doubling your hanging rails alone can increase usable wardrobe capacity by up to 40 percent.
- Consistent, matching storage containers create a visual calm that makes a wardrobe feel larger and more luxurious.
- Lighting inside a wardrobe is not a luxury; it is a functional necessity that directly affects how efficiently you use the space.
- Zone-based organization, grouping items by category and frequency of use, cuts morning decision time dramatically.
- Small hardware upgrades like pull-out shoe racks and velvet-lined drawer inserts cost little but deliver outsized improvements in both function and style.
Why Most Wardrobes Fail (And How These Hacks Fix That)
Before diving into the specific hacks, it helps to understand why most wardrobe interiors underperform. The core issue is that most wardrobes, whether factory-fitted or custom-built, are designed around a single, generic user. One long hanging rail, one or two fixed shelves, and a basic drawer unit. That layout works for nobody particularly well.
Professional wardrobe designers refer to this as the “one-size-fits-none” problem. A person who owns 30 pairs of shoes and ten suits has completely different needs from someone who lives in jeans and folded knitwear. The 8 wardrobe interior design hacks for maximum storage and style outlined in this article are designed to be modular, you can apply one or all eight depending on your specific wardrobe layout, budget, and lifestyle.
A key principle to keep in mind throughout: storage and style are not competing goals. A well-organized wardrobe is inherently more beautiful. Order creates visual calm, and visual calm signals luxury. The most expensive-looking wardrobes in design magazines are not expensive because of the price of the materials, they are expensive-looking because everything has a place and nothing is out of place.
The 8 Wardrobe Interior Design Hacks for Maximum Storage and Style
1. Double Your Hanging Space With a Second Rail
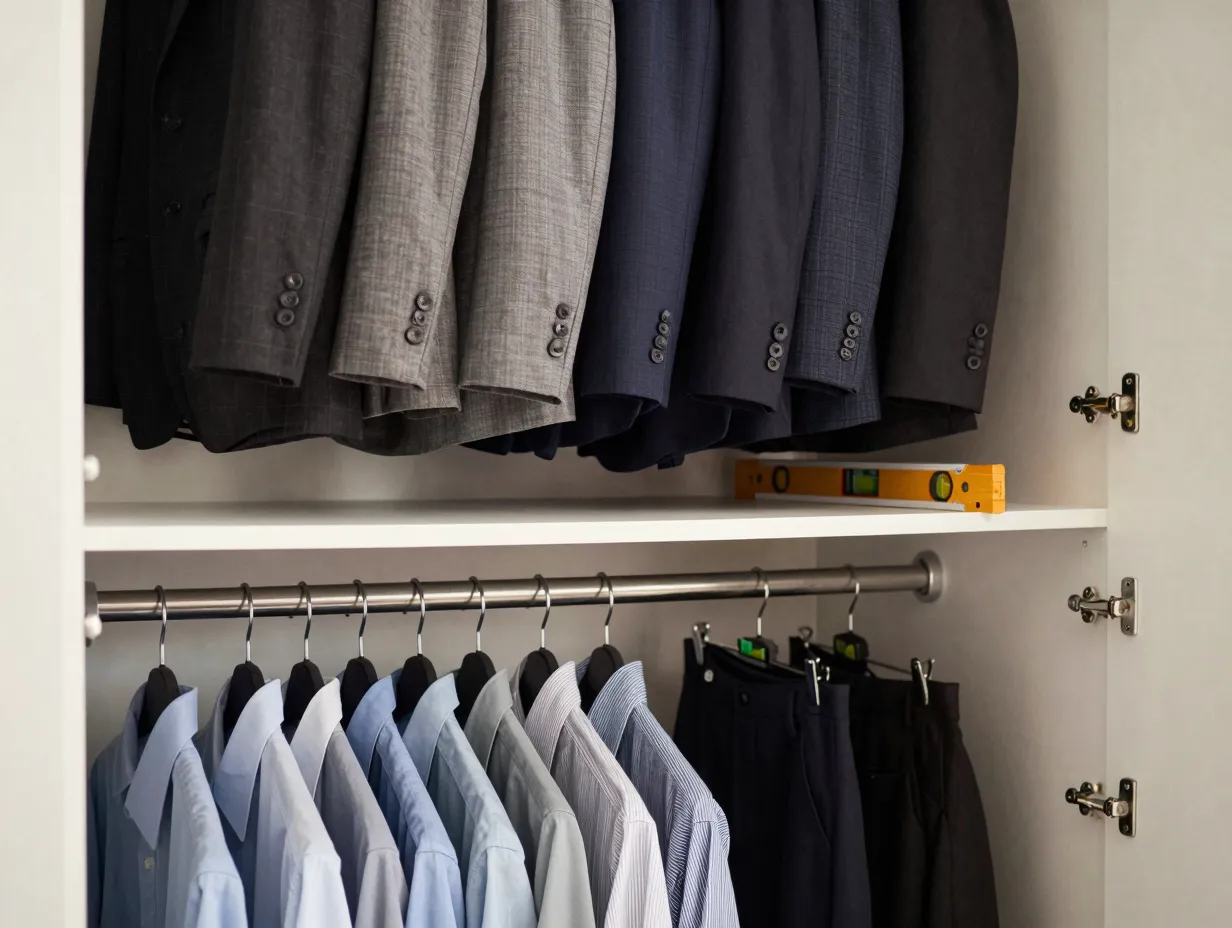
The single most impactful change you can make to almost any wardrobe is adding a second hanging rail beneath the first. Most standard wardrobes allocate the full height of the interior to one rail, which leaves an enormous amount of dead space below shorter garments like jackets, blazers, shirts, and folded trousers.
By installing a second rail at roughly half the height of the first, you can effectively double the hanging capacity of that section. This works best in sections dedicated to shorter items. Reserve one section of the wardrobe for full-length garments like dresses and coats, and convert every other section to a double-hang configuration.
What you need:
- A tension rod or a mounted secondary rail (available at most home improvement stores for under $20)
- A measuring tape and a level
- Basic wall anchors if you are mounting a permanent rail
I added a second rail to my own wardrobe three years ago and immediately freed up enough space to eliminate an overflow clothes rack that had been sitting in the corner of my bedroom. The visual difference in the room was immediate.
2. Use the Full Vertical Height With Stacked Shelving
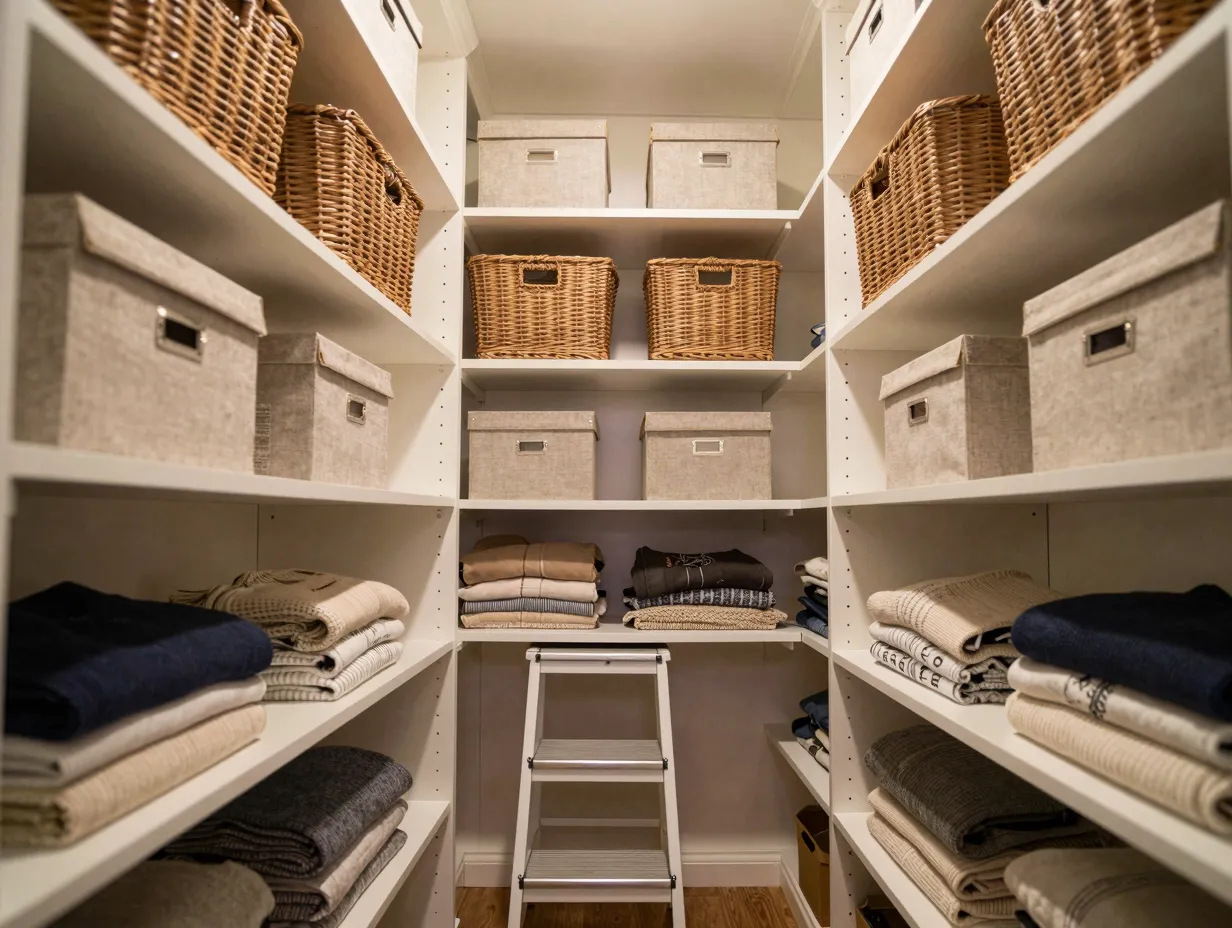
Most people stop stacking shelves at eye level. Everything above that point, often 30 to 50 centimeters of usable space before the ceiling, gets ignored or used as a dumping ground for items that are never touched again.
Stacked shelving that runs all the way to the ceiling forces you to think in zones. The top shelves, which require a step stool to reach, are ideal for seasonal items: winter coats in summer, swimwear in winter, holiday decorations, or luggage. Lower shelves hold everyday items within easy reach.
“The vertical plane is the most underused real estate in any wardrobe. Designers who master it can double effective storage without adding a single square foot of floor space.”, A principle I have heard repeated by every professional organizer I have spoken with.
Use matching baskets or labeled boxes on upper shelves to keep the space looking intentional rather than cluttered. Wicker baskets, linen-covered boxes, or clear acrylic containers all work well depending on your aesthetic.
3. Install Interior Wardrobe Lighting
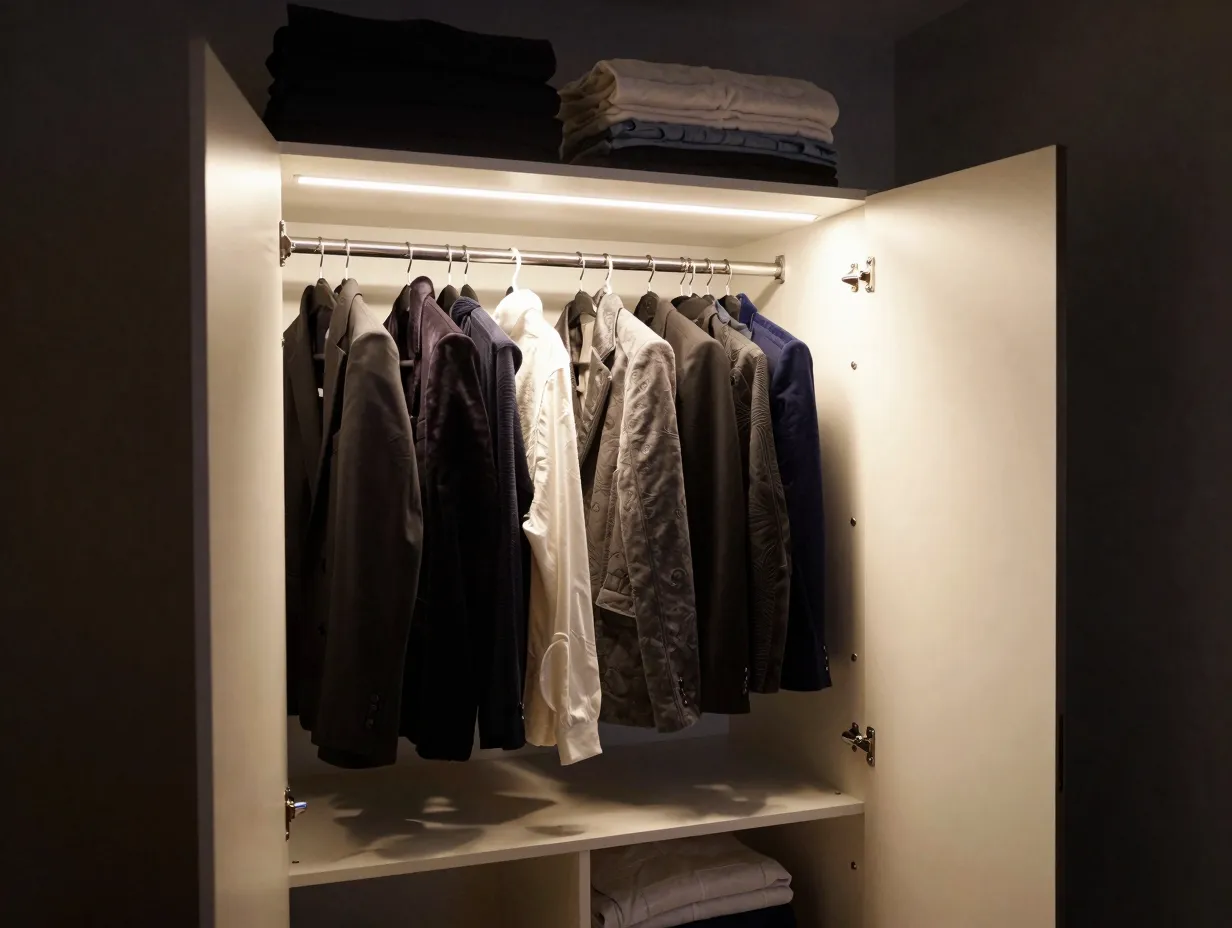
Lighting inside a wardrobe is one of those upgrades that people dismiss as unnecessary until they experience it. Then they wonder how they ever managed without it.
Poor lighting, or no lighting, means you cannot see colors accurately, you miss items pushed to the back, and the whole space feels smaller and less inviting than it actually is. Good interior lighting transforms the experience of using your wardrobe every single day.
The best options for wardrobe lighting in 2026:
| Lighting Type | Best For | Approximate Cost |
|---|---|---|
| LED strip lights | Shelves and hanging rails | $15 – $40 |
| Motion-sensor puck lights | Small wardrobes, no wiring | $10 – $25 per unit |
| Recessed ceiling spots | Walk-in wardrobes | $80 – $200 installed |
| Under-shelf LED bars | Folded items and accessories | $20 – $50 |
For most reach-in wardrobes, adhesive LED strip lights along the underside of each shelf are the most cost-effective and visually appealing solution. Choose a warm white color temperature (2700K to 3000K) to make clothing colors appear natural and flattering.
4. Create Dedicated Zones Based on Frequency of Use
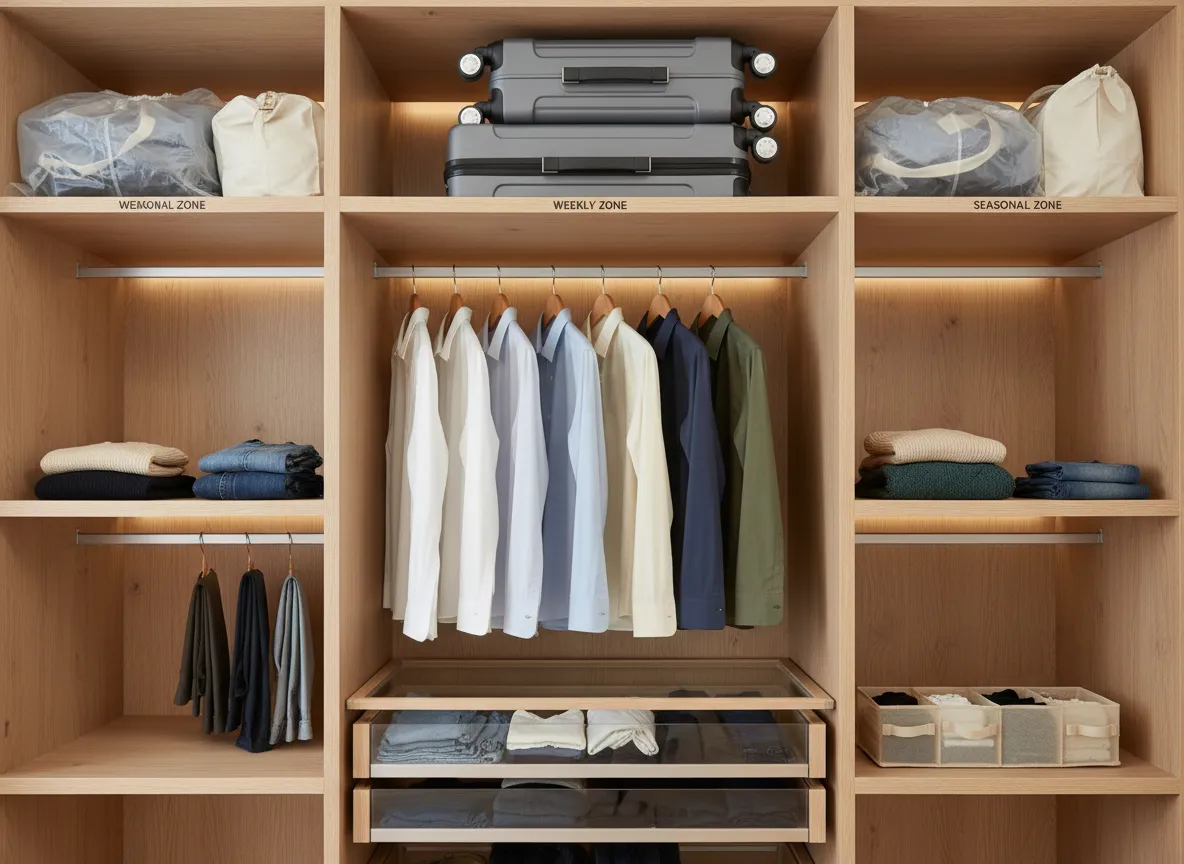
Zone-based organization is the single most powerful conceptual shift you can make in how you think about wardrobe design. Instead of organizing by item type alone (all shirts together, all trousers together), organize primarily by how often you reach for something.
The three-zone framework:
- Daily zone: Items you wear every week. These live at eye level and arm’s reach, the prime real estate of your wardrobe.
- Weekly zone: Items you wear occasionally. These live on lower shelves, upper shelves within easy reach, or the second hanging rail.
- Seasonal or occasional zone: Items you wear rarely. These live at the very top, in under-bed storage, or in a secondary wardrobe.
This framework means that your most-used items are always the easiest to access. You stop moving things around to reach what you need, and the wardrobe stays organized with minimal effort because everything has a logical home.
I reorganized a client’s wardrobe using this exact framework last year. She had been spending ten minutes every morning digging through a single packed rail. After rezoning, she reported her morning routine dropped to under five minutes within the first week.
5. Add Pull-Out Drawers and Inserts for Accessories
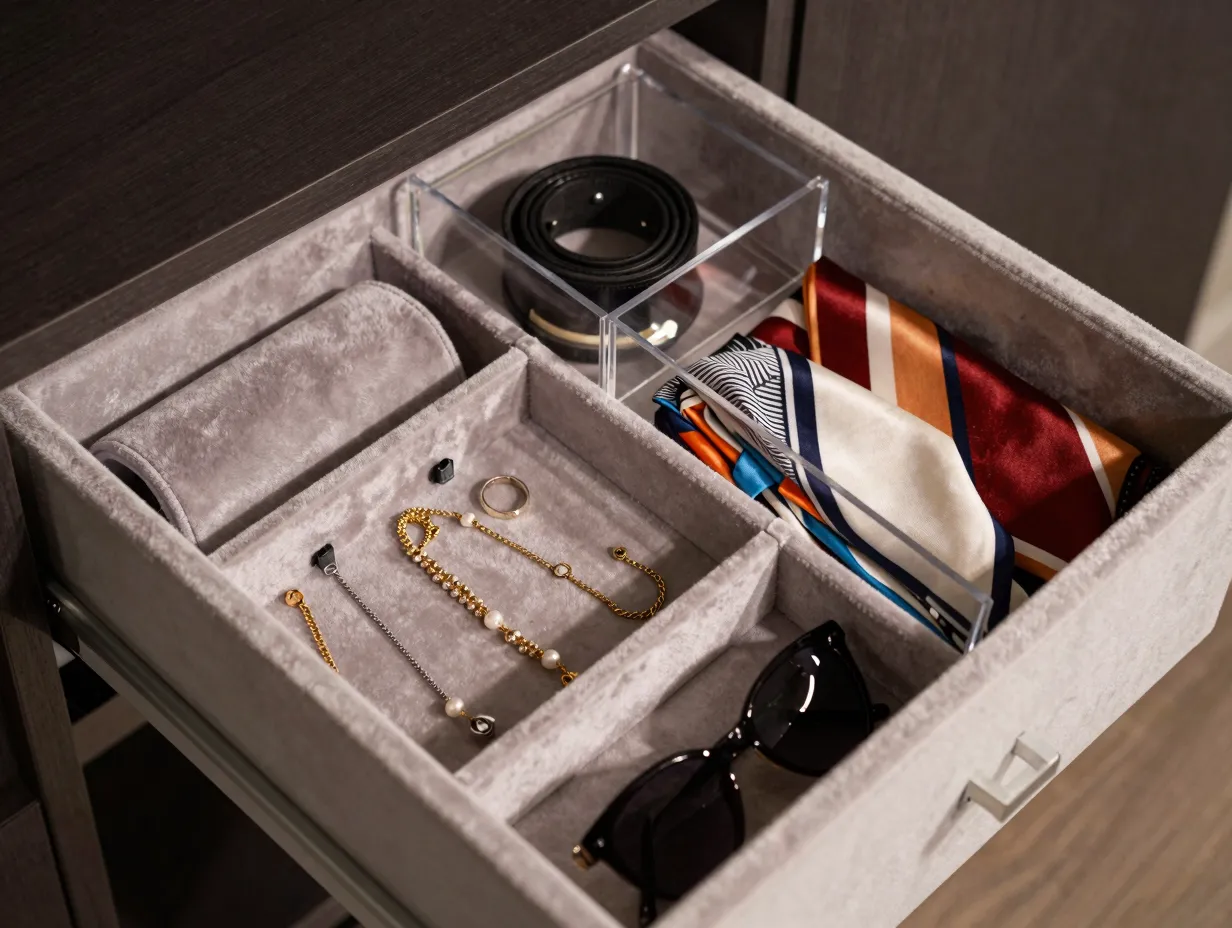
Fixed shelves are convenient for folded items, but they are inefficient for smaller accessories like jewelry, belts, ties, scarves, and sunglasses. These items get piled on top of each other, become hard to find, and often get damaged.
Pull-out drawer inserts, either freestanding units that sit inside a wardrobe section or built-in drawer modules, solve this problem entirely. The key is to use divided inserts within each drawer so that every item has its own dedicated space.
Recommended drawer inserts by category:
- Velvet-lined jewelry trays for rings, earrings, and necklaces
- Belt and tie rolls or hooks mounted inside a drawer
- Clear acrylic dividers for folded scarves and pocket squares
- Shallow trays for sunglasses, watches, and cufflinks
The velvet-lined insert is worth calling out specifically. It costs very little, often under $15 for a full tray set, but it instantly makes a wardrobe feel like a high-end boutique. The visual effect is disproportionate to the cost.
6. Use Matching Hangers Throughout
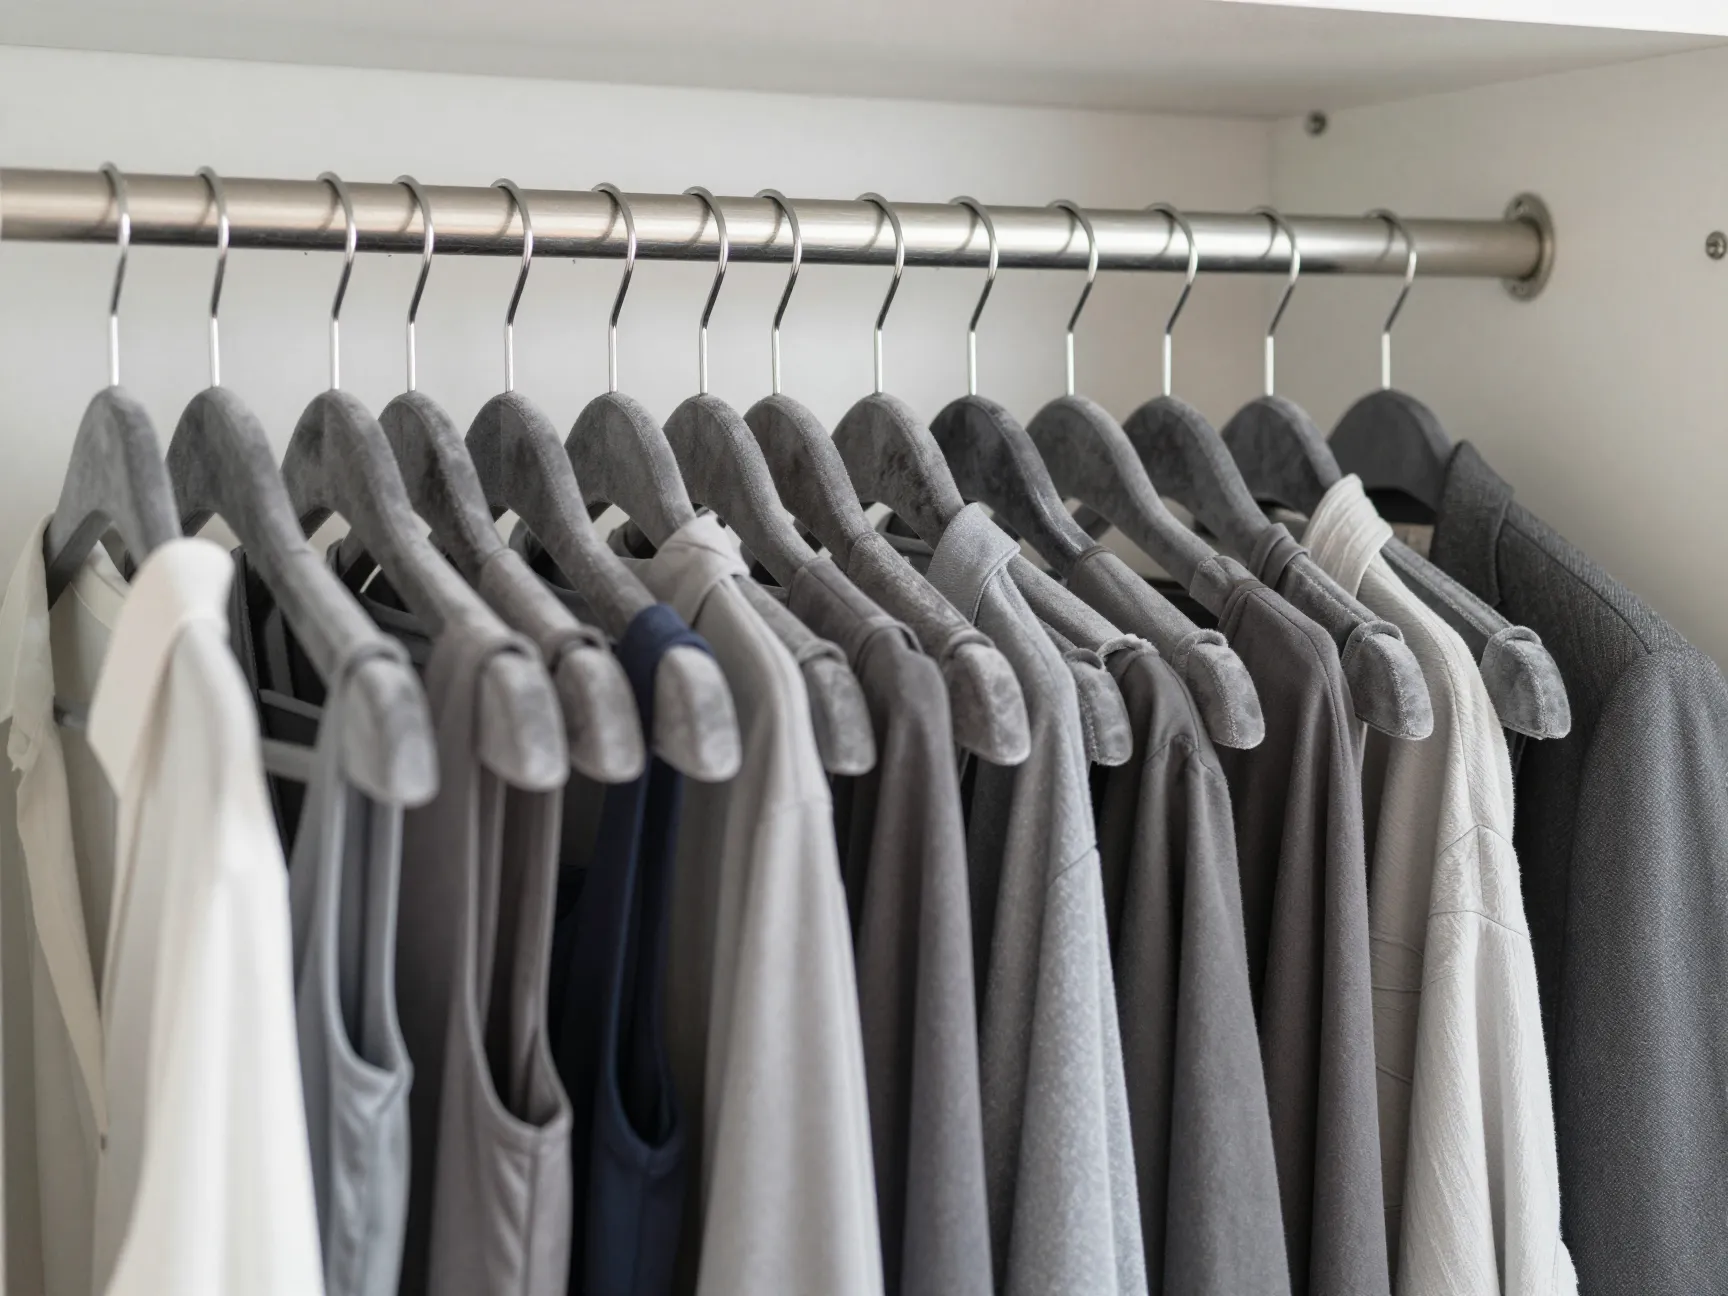
This is the hack that gets dismissed most often as superficial, and it is the one that makes the most immediate visual difference. Mismatched hangers, a mix of wire, plastic, and wooden hangers in different sizes and colors, create visual noise that makes even a well-organized wardrobe look chaotic.
Switching to a single type of hanger throughout the entire wardrobe creates an instant sense of order and calm. The best choice for most people is a slim, non-slip velvet hanger in a single color (typically black, grey, or natural wood tone).
The practical benefits of matching hangers go beyond aesthetics:
- Slim velvet hangers take up roughly 60 percent less horizontal space than standard plastic hangers, which can increase hanging capacity significantly.
- Non-slip surfaces prevent garments from falling, which reduces the time spent picking clothes up off the floor.
- Uniform hanger height means all garments hang at the same level, making it easier to scan and select items quickly.
A full set of 50 slim velvet hangers typically costs between $15 and $30. It is one of the highest-return investments you can make in a wardrobe upgrade.
7. Incorporate Mirrored or Reflective Panels
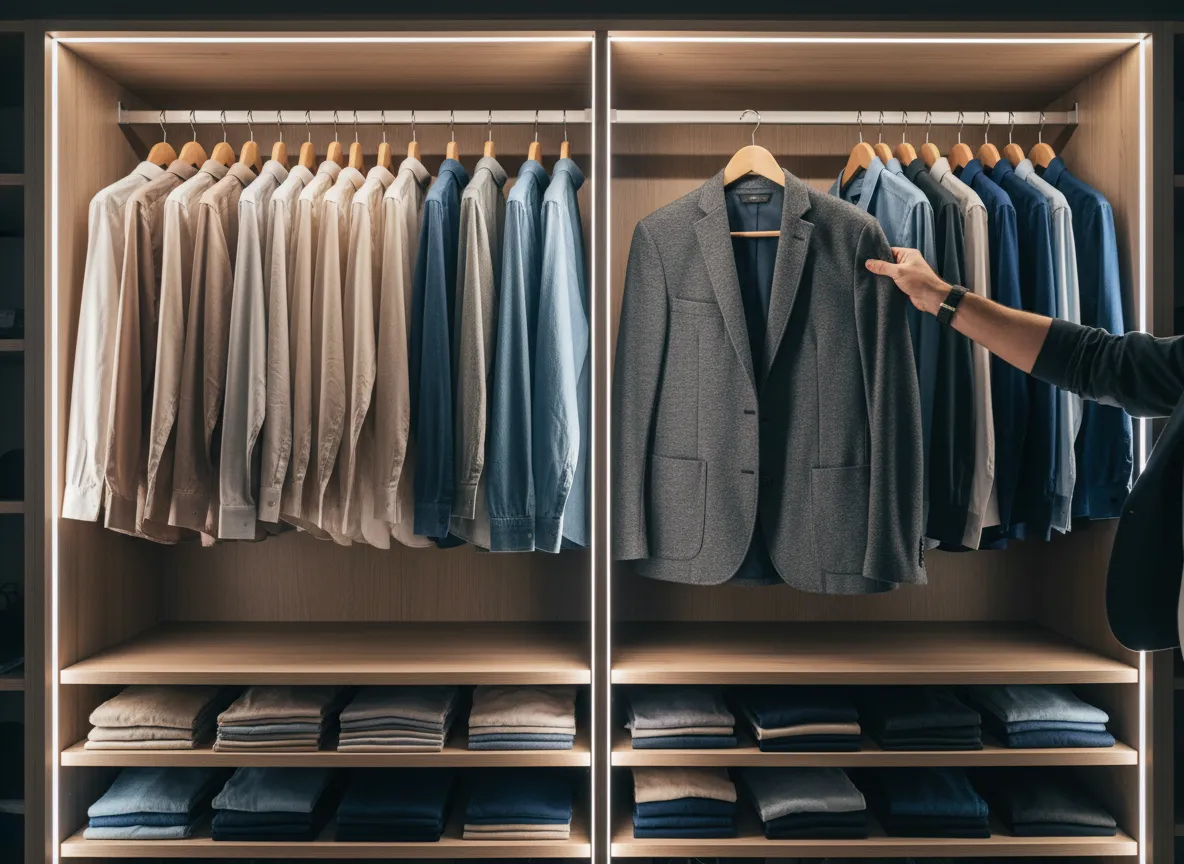
Mirrored panels inside or on the doors of a wardrobe serve a dual purpose: they make the space feel larger and more open, and they provide a functional full-length mirror that eliminates the need for a separate piece of bedroom furniture.
For smaller bedrooms in particular, a mirrored wardrobe door can be genuinely transformative. It bounces light around the room, creates a sense of depth, and reduces visual clutter by removing the need for a freestanding mirror.
If a full mirrored door feels too stark for your aesthetic, consider these alternatives:
- Mirrored back panel inside the wardrobe interior (visible only when the door is open)
- Frosted or antiqued mirror panels for a softer, more vintage look
- Smoked glass panels for a contemporary, moody aesthetic
From a practical standpoint, a mirrored back panel inside the wardrobe also helps with outfit checking, you can hold a garment up against yourself and see the full effect without leaving the wardrobe area.
8. Implement a Color-Coded Organization System
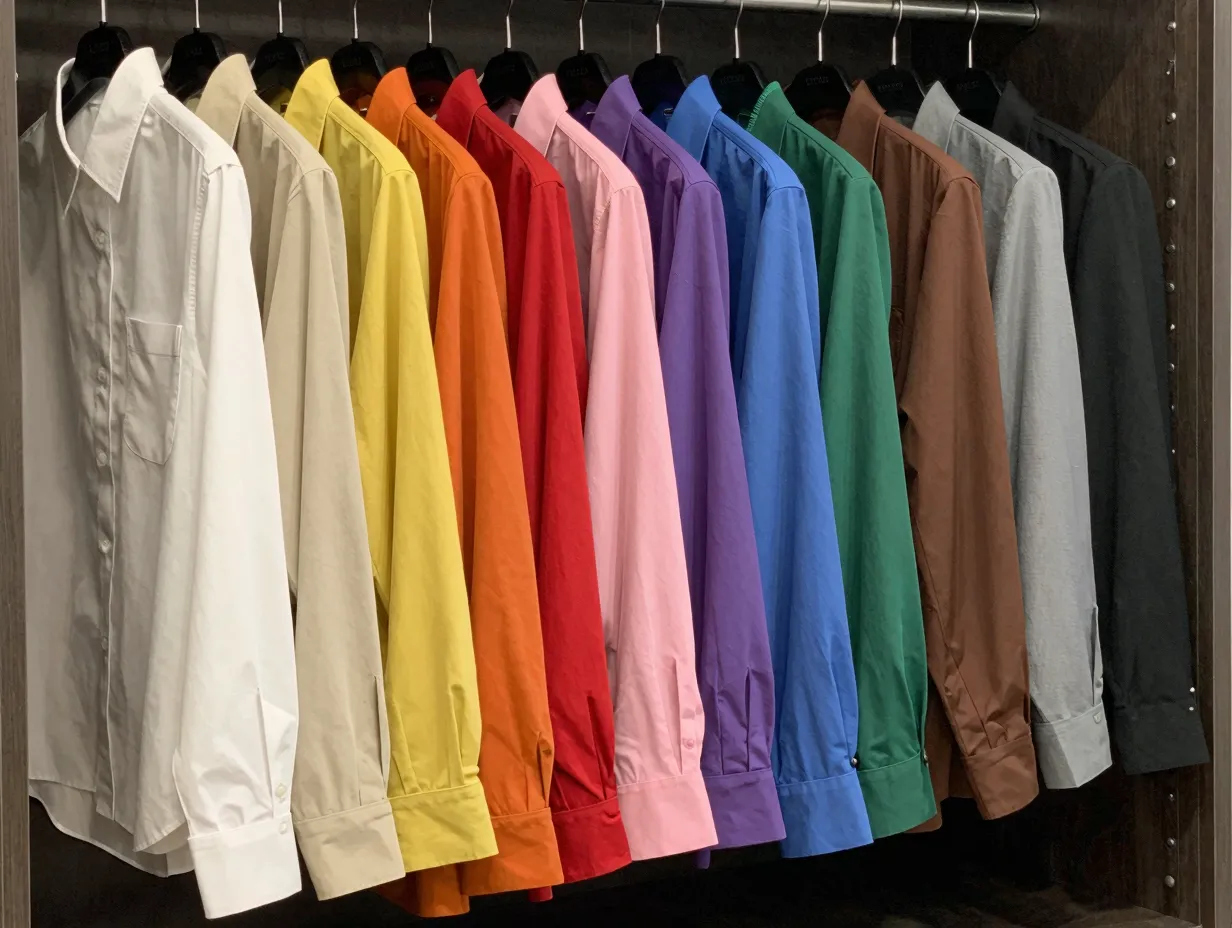
The final hack in these 8 wardrobe interior design hacks for maximum storage and style is color coding, and it is more powerful than it sounds. Organizing garments by color within each category (all shirts arranged from white through to black, for example) does two things simultaneously: it makes the wardrobe look curated and intentional, and it makes finding specific items dramatically faster.
Color coding works best when combined with the zone-based organization from Hack 4. Within each zone, arrange items by color. The result is a wardrobe that looks like a display in a high-end clothing store.
How to implement color coding in five steps:
- Remove everything from the wardrobe and sort into categories (tops, bottoms, outerwear, etc.).
- Within each category, arrange items in color order: white, cream, yellow, orange, red, pink, purple, blue, green, brown, grey, black.
- Rehang or refold items in this order within their designated zone.
- Maintain the system by returning items to their color position after washing.
- Review and re-sort every three months to account for new purchases and seasonal changes.
The maintenance step is the most important. Color coding only works if you commit to returning items to their correct position. It takes about ten seconds per item, a small investment for a wardrobe that stays organized indefinitely.
Combining the Hacks for Maximum Impact
The real power of these 8 wardrobe interior design hacks for maximum storage and style comes from combining them. Each hack improves one dimension of your wardrobe. Together, they create a compounding effect that transforms the entire space.
Here is a suggested implementation sequence based on impact and effort:
Phase 1 (Weekend project, under $50):
- Switch to matching velvet hangers (Hack 6)
- Add adhesive LED strip lights (Hack 3)
- Implement color coding (Hack 8)
Phase 2 (One to two weekends, $50 to $150):
- Add a second hanging rail (Hack 1)
- Install drawer inserts for accessories (Hack 5)
- Reorganize using the three-zone framework (Hack 4)
Phase 3 (Larger project, $150 and above):
- Add stacked shelving to use full vertical height (Hack 2)
- Install mirrored panels (Hack 7)
Starting with Phase 1 gives you immediate visible results that motivate you to continue. The total cost of a full Phase 1 upgrade is typically under $50 and takes a single afternoon.
Common Mistakes to Avoid
Even with the best intentions, a few common mistakes can undermine a wardrobe redesign:
- Overfilling after organizing. The most common mistake. Once you have created space, resist the urge to fill every inch of it. Empty space is functional, it is what makes a wardrobe easy to use.
- Ignoring the door interior. The inside of wardrobe doors is prime storage real estate. Over-door organizers, hooks, and small shelves can add significant capacity without touching the main interior.
- Buying storage products before auditing. Always declutter and audit what you actually own before buying any storage solutions. Buying organizers for items you should have donated is a waste of money and space.
- Choosing style over function. Beautiful baskets that are hard to open, or decorative boxes with no labels, add visual appeal but reduce functionality. Aim for storage solutions that are both attractive and genuinely easy to use.
Conclusion
A wardrobe that works for you, one that is easy to navigate, visually calm, and genuinely enjoyable to use, is not a luxury reserved for large spaces or large budgets. Every one of the 8 wardrobe interior design hacks for maximum storage and style covered in this article can be implemented incrementally, starting with the changes that cost almost nothing and deliver the most immediate impact.
Your actionable next steps:
- Spend 30 minutes this week auditing your current wardrobe. Remove anything you have not worn in 12 months.
- Order a set of matching velvet hangers and re-hang your garments by color within each category.
- Install adhesive LED strip lights on the underside of your shelves.
- Map out your three zones, daily, weekly, and seasonal, and reorganize accordingly.
- Plan your Phase 2 and Phase 3 upgrades based on your specific wardrobe layout and budget.
The investment is modest. The return, measured in time saved, stress reduced, and genuine pleasure taken in a space that reflects who you are, is substantial. Start with one hack this weekend and build from there.
References
- ClosetMaid. (2017). Survey on morning routine and wardrobe organization habits. ClosetMaid Consumer Research.
- Kondo, M. (2014). The Life-Changing Magic of Tidying Up. Ten Speed Press.
- Iida, S., & Sekiguchi, T. (2020). Spatial organization and psychological well-being in residential interiors. Journal of Environmental Psychology, 68, 101398.
- National Association of Professional Organizers. (2019). State of the organizing industry report. NAPO.