8 Beginner-Friendly Garden Layout Ideas To Grow Your First Plot
Only 8% of first-time gardeners say their initial plot design worked well from day one, according to recent gardening surveys. The other 92% wish they had started with a clearer plan. If you have ever stared at a patch of bare soil and felt completely lost, you are not alone. The good news is that choosing the right layout from the start is the single biggest factor in whether a beginner garden thrives or turns into a frustrating tangle of weeds and wilted plants. These 8 beginner-friendly garden layout ideas to grow your first plot are designed to remove that guesswork and give you a real, workable starting point for 2026.
Disclosure: This post contains affiliate links. As an Amazon Associate, we earn from qualifying purchases, and at no extra cost to you.
Key Takeaways
- Starting with a small, clearly defined area and limiting your first-year garden to 3-5 crops is the most reliable path to early success [1][7].
- A 4×8 raised bed grid is the single most recommended beginner layout because it keeps everything within arm’s reach [1][8].
- Proper path width (at least 2 feet between beds) prevents soil compaction and makes maintenance far easier [1][3].
- Companion planting and vertical growing can dramatically expand what you produce in a limited footprint [9][10].
- Every layout idea below can be adapted to a small backyard, a rented plot, or even a patio.
Why Your First Garden Layout Matters More Than You Think
Most beginners focus on which seeds to buy. That is understandable. But the layout of your garden, meaning how you physically organize the space, determines how easy it is to water, weed, harvest, and learn. A poorly planned plot leads to compacted soil from constant foot traffic, shaded crops that never produce, and paths so narrow that a wheelbarrow cannot pass.
I made exactly these mistakes in my first season. I planted everything in a rough square with no clear paths, and by July I could not reach half my tomatoes without crushing something. The following year, I sketched a simple grid on paper before touching a single seed, and the difference was dramatic.
Good planning also means you spend less money. When you know exactly how much space you have, you buy the right amount of seed and compost, not twice as much as you need [1][10].
The core principle behind all 8 beginner-friendly garden layout ideas to grow your first plot is this: keep it simple, keep it reachable, and keep it small enough that you can actually manage it.
The 8 Beginner-Friendly Garden Layout Ideas To Grow Your First Plot
1. The Classic 4×8 Raised Bed Grid
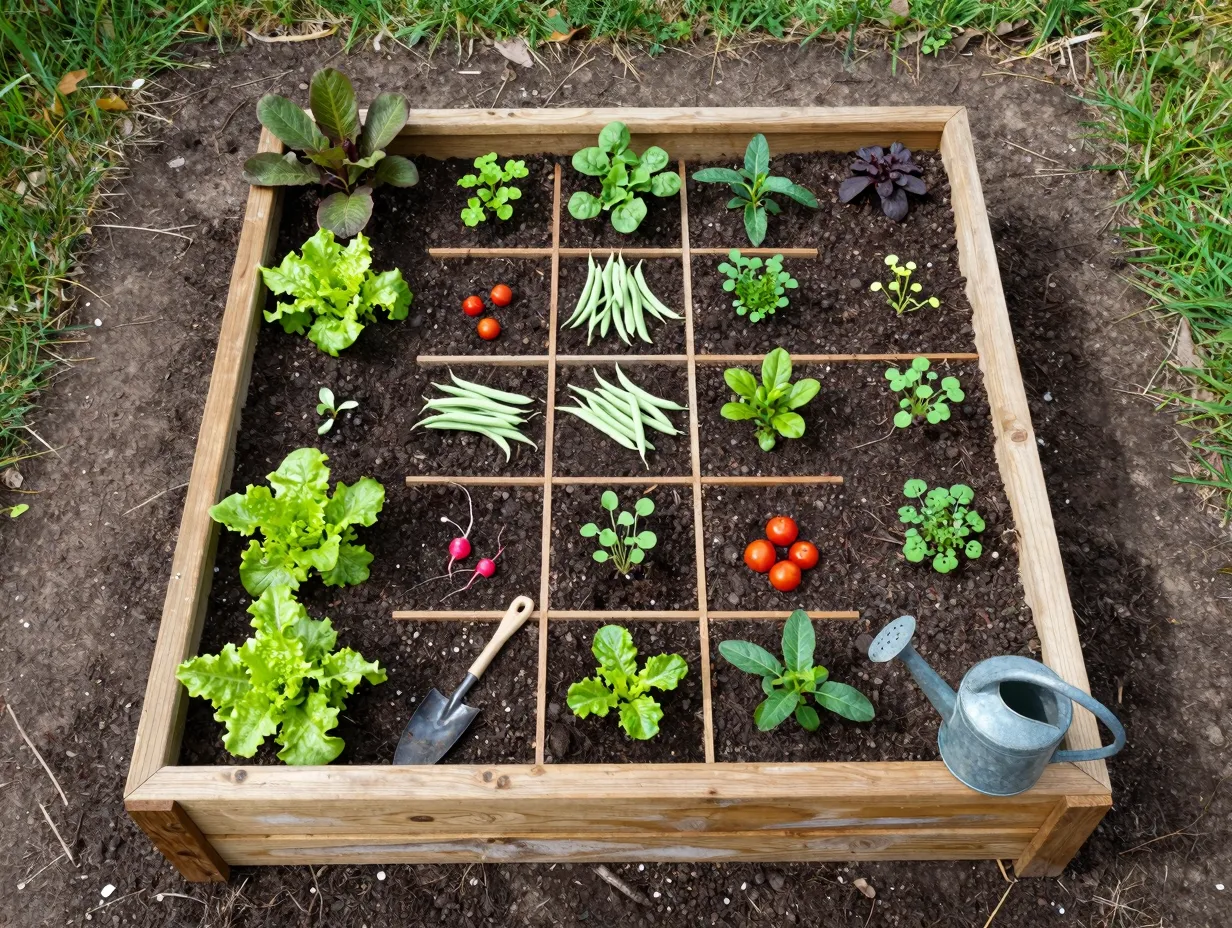
The 4×8 raised bed grid is the layout most consistently recommended by gardening guides in 2026, and for very good reason [1][8]. The bed is no wider than 4 feet, which means you can reach the center from either side without ever stepping on the soil. Loose, uncompacted soil is one of the biggest advantages a beginner can have.
How to set it up:
- Build or buy a raised bed frame that measures 4 feet wide by 8 feet long.
- Fill it with a quality mix of topsoil, compost, and aged manure.
- Divide the surface into a grid of 1-foot squares using string or wooden dowels.
- Assign one or two crops to each square based on spacing requirements.
This grid approach, sometimes called square foot gardening, lets you plant intensively without confusion. You always know exactly where each crop is and how much space it needs. Leave paths at least 2 feet wide around all sides of the bed so you can kneel, crouch, or use tools comfortably [3].
For a first-year gardener, I recommend planting no more than 3-5 crops in this bed: lettuce, bush beans, cherry tomatoes, radishes, and herbs are a reliable starting combination [7].
2. The Single-Row Traditional Layout
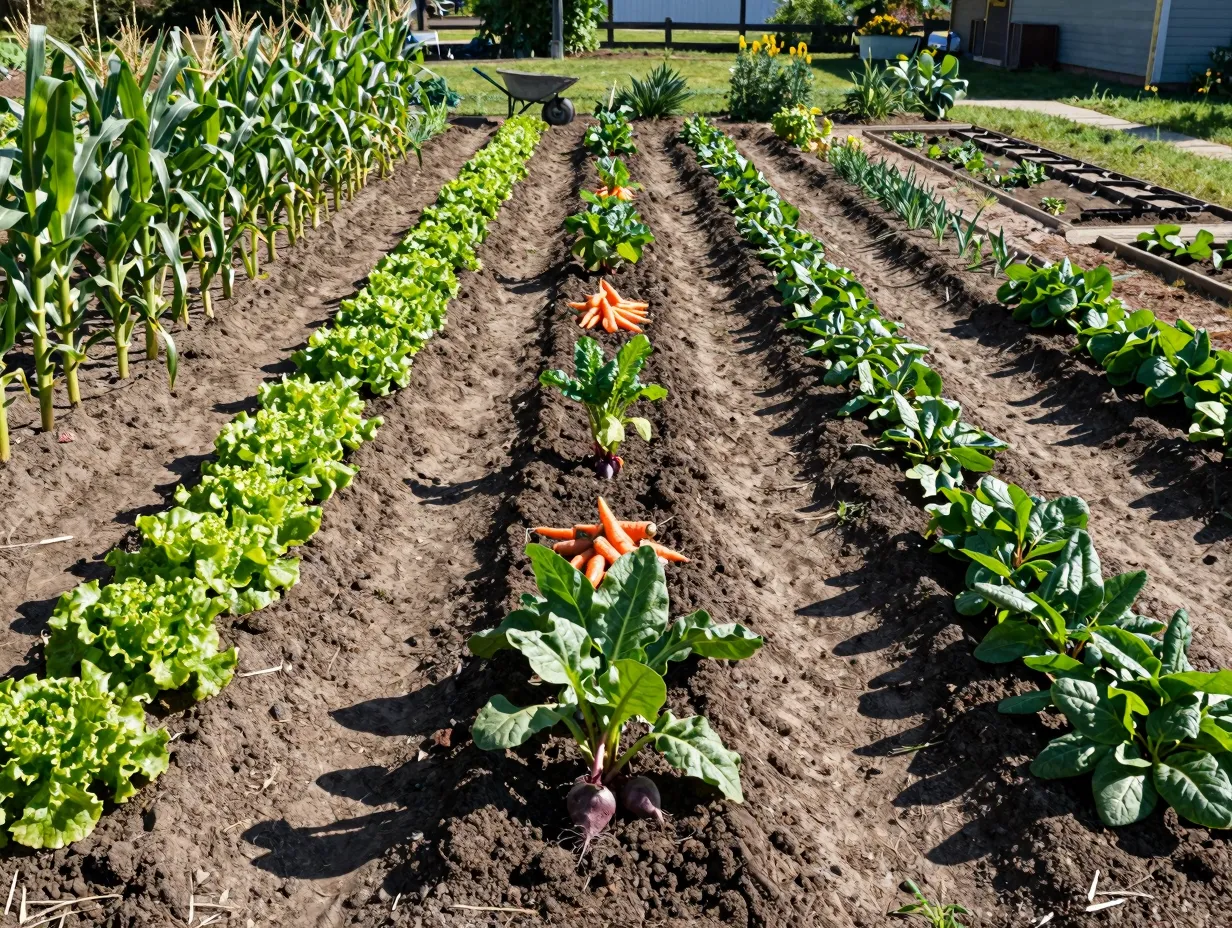
If you have a slightly larger plot, say 10 feet by 10 feet or more, a traditional row layout is a natural choice [1][10]. Straight rows are easy to plan on paper, easy to plant, and easy to manage with basic tools.
Key rules for row gardens:
- Orient rows from north to south so all plants receive even sunlight throughout the day.
- Place tall crops like corn or pole beans at the north end of the plot so they do not shade shorter plants.
- Keep rows no longer than 10-12 feet for a beginner plot so you are not overwhelmed.
- Maintain paths of at least 18-24 inches between rows so a small wheelbarrow can pass [1].
Row gardens work especially well for staple crops: beans, lettuce, carrots, beets, and spinach. These plants grow in relatively straight lines, respond well to row spacing, and are easy to harvest without disturbing neighboring plants [10].
The main downside of row gardening is that it uses more space per plant than intensive methods. However, for a first-year gardener who wants simplicity and clear visual organization, it is hard to beat.
3. The Square Foot Garden Method
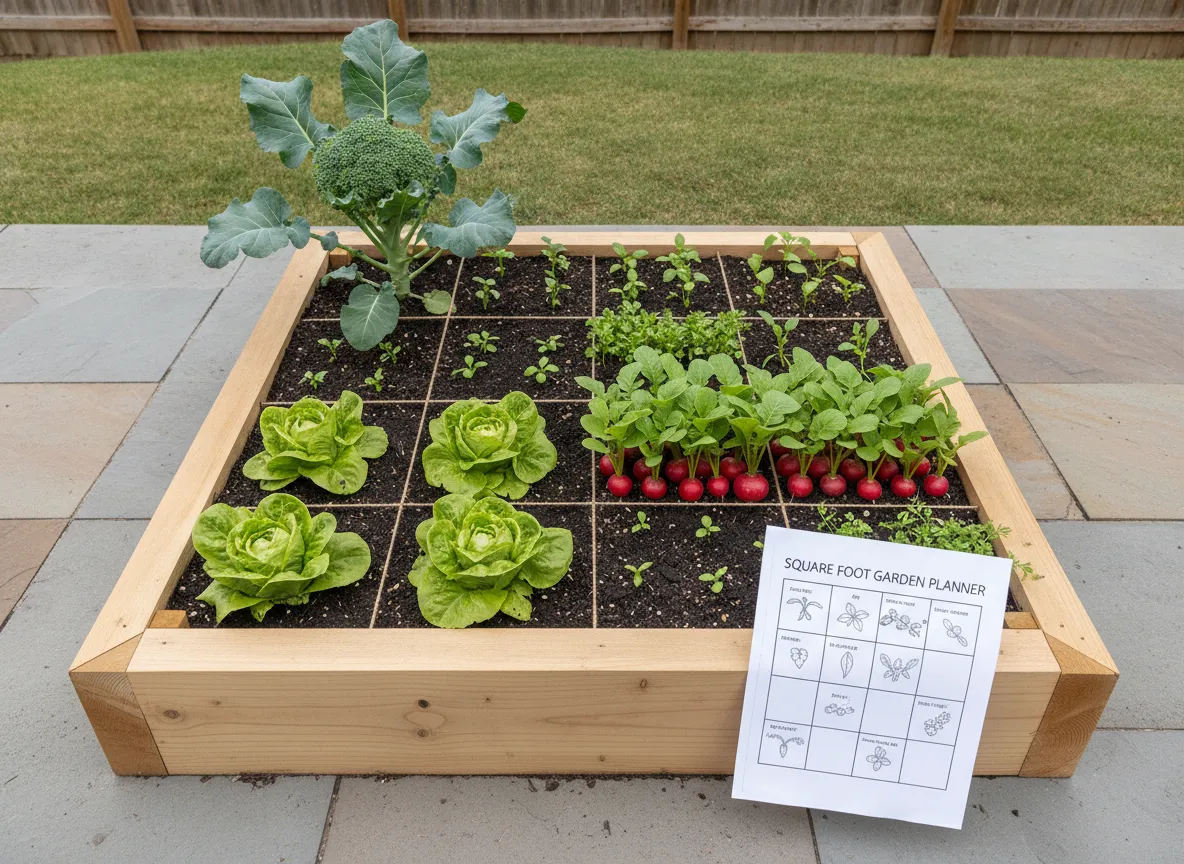
Square foot gardening is a more structured version of the raised bed grid. Developed by Mel Bartholomew, it assigns a specific number of plants to each 1-foot square based on the plant’s mature size. Large plants like broccoli get one square each. Medium plants like lettuce get four per square. Small plants like radishes get sixteen per square.
Why it works for beginners:
- It eliminates guesswork about spacing.
- It maximizes yield in a small area.
- It makes crop rotation in future seasons straightforward.
- It is easy to track and record what you planted where.
A standard 4×4 bed divided into 16 squares gives a beginner a manageable, organized first plot that produces a surprising variety of food [2][7]. You can find printable square foot garden templates from planning tools like Plot My Garden, which offer visual layouts you can customize before you plant a single seed [3].
4. The Keyhole Bed Design
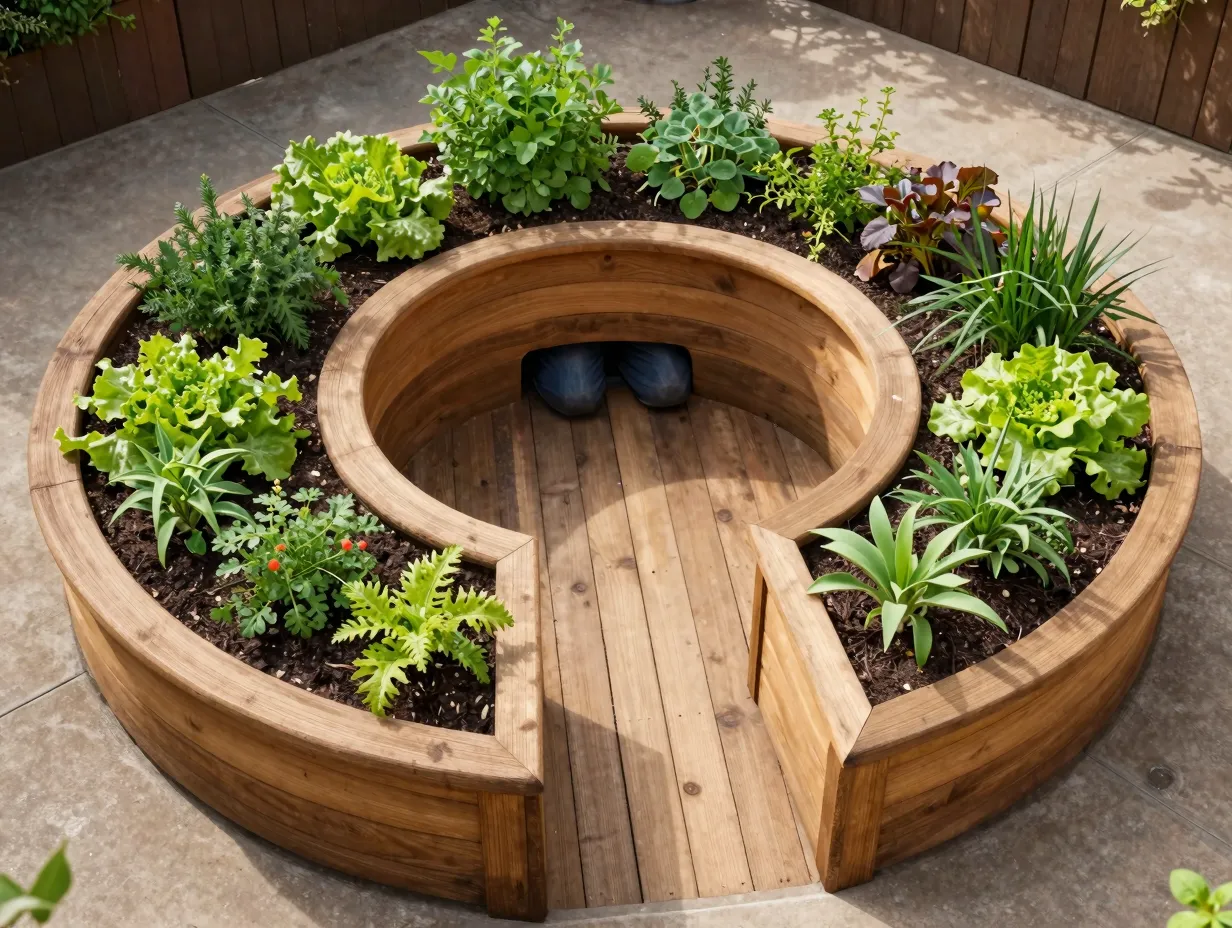
A keyhole bed is a circular or D-shaped raised bed with a narrow wedge-shaped path cut into the center, like the keyhole of a lock. This path lets you reach every part of the bed from the inside without stretching.
Dimensions that work:
- Outer diameter: 6 feet
- Central path width: 18-24 inches
- Bed width from outer edge to path: no more than 2 feet
The keyhole design is particularly useful when you are working with an awkward corner of a yard or a small patio area. It also looks attractive, which matters if your garden is visible from the house or a neighbor’s view.
Because every part of the bed is reachable, you can plant densely and manage the bed efficiently. Herbs, salad greens, and compact vegetables like bush beans and radishes thrive in this format.
5. The Container Cluster Layout
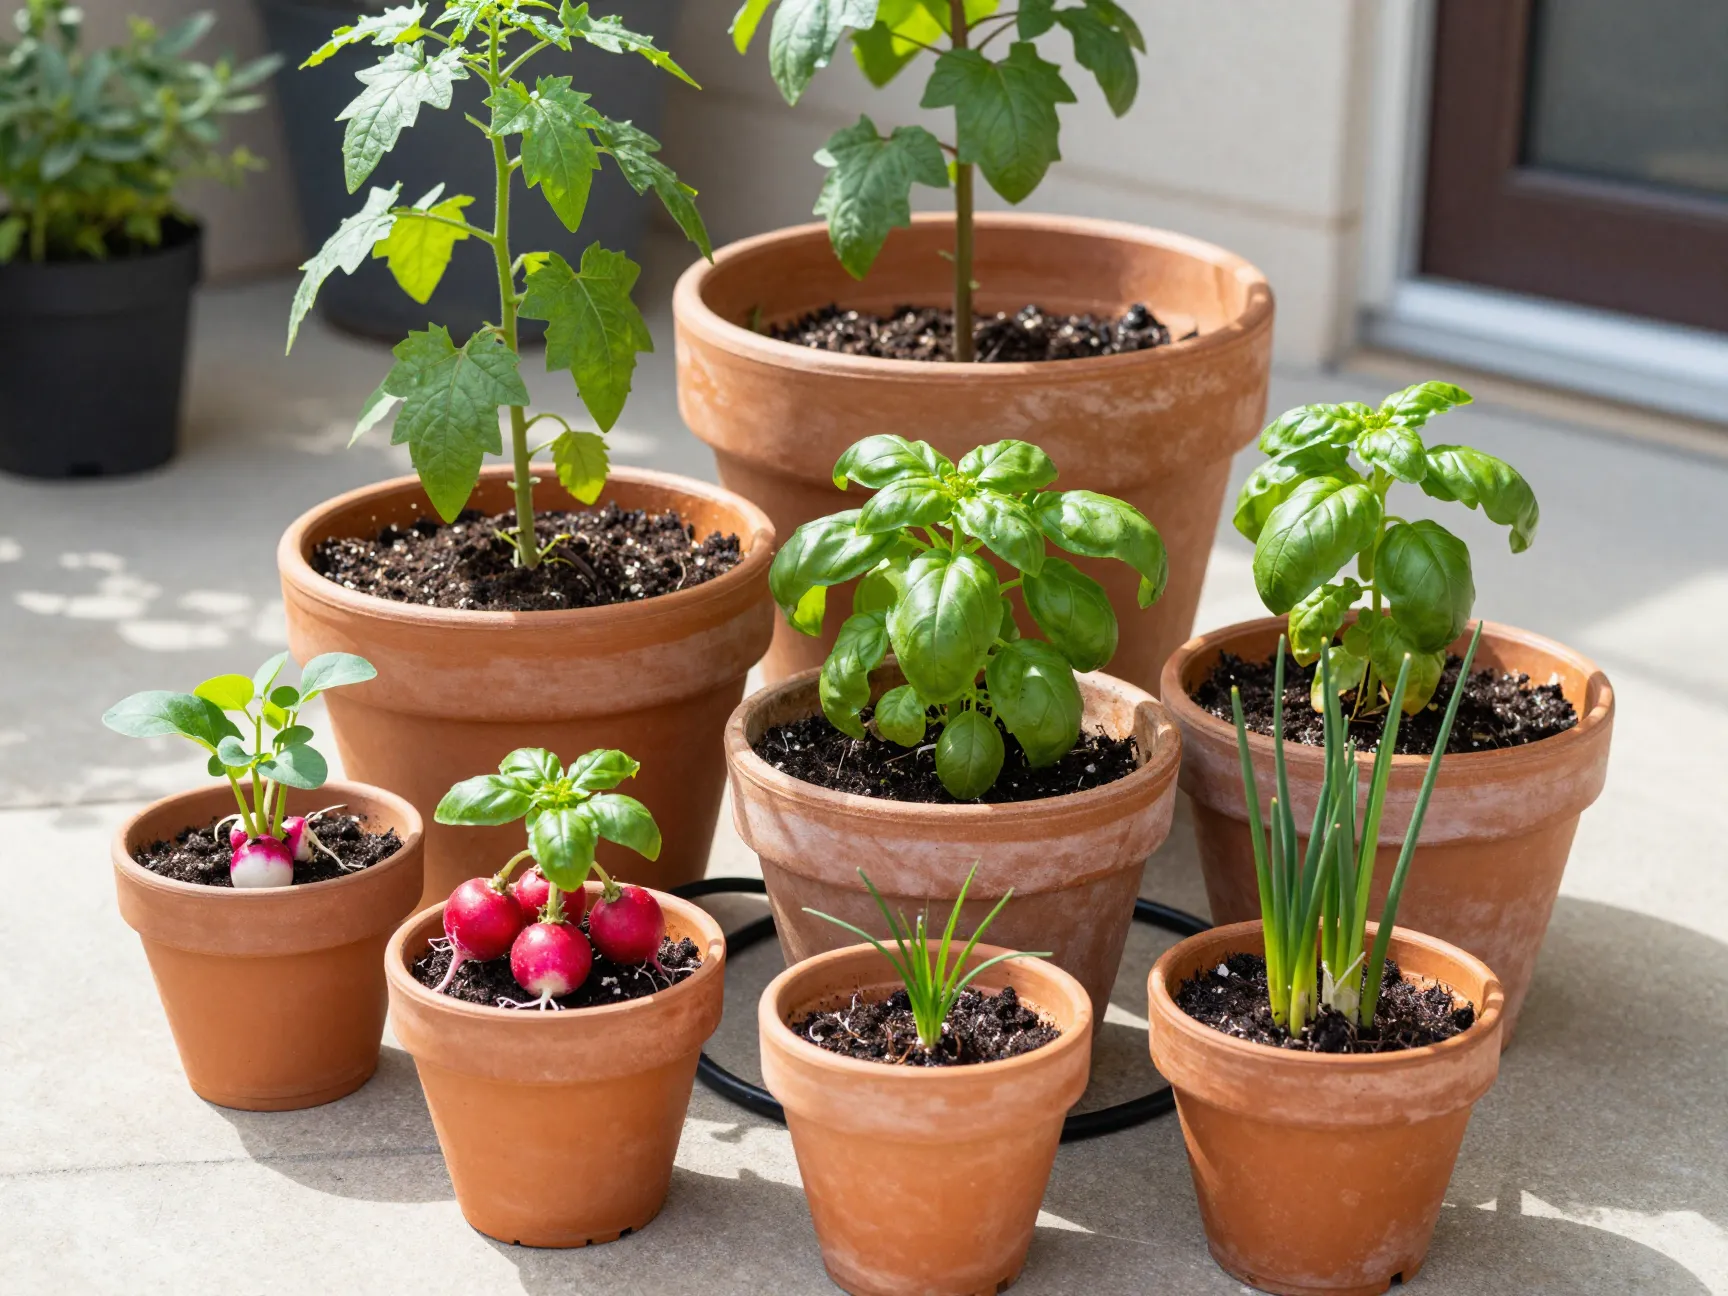
Not every beginner has access to ground soil. Renters, apartment dwellers, and gardeners with heavily compacted or contaminated soil often turn to containers, and a well-organized container cluster can be just as productive as a raised bed [6][9].
How to build a productive container cluster:
- Group containers of different sizes together to create a unified garden feel.
- Use the largest containers (15-25 gallon) for tomatoes, peppers, and eggplant.
- Use medium containers (5-10 gallon) for herbs, lettuce, and bush beans.
- Use small containers (1-3 gallon) for radishes, chives, and compact herbs.
- Arrange them so taller containers do not shade smaller ones.
Container gardens dry out faster than in-ground or raised beds, so consistent watering is critical. A simple drip irrigation system or a daily watering routine makes a big difference. The advantage is complete control over soil quality and the ability to move plants to follow the sun [6].
For small backyard spaces in 2026, container clusters on patios and decks have become one of the most popular beginner-friendly approaches [6][9].
6. The Companion Planting Mixed Bed
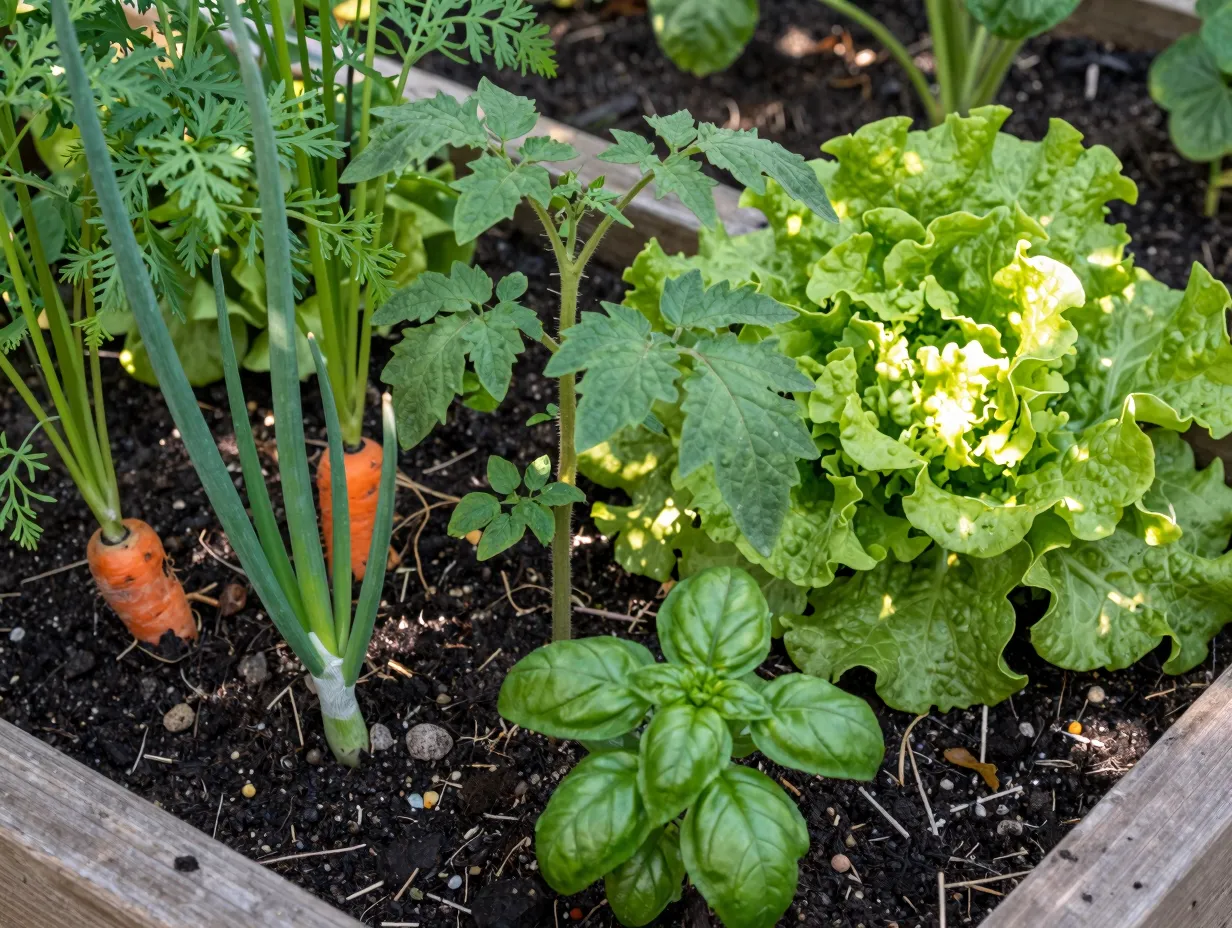
Companion planting means growing different crops close together because they benefit each other. The most famous example is the “Three Sisters” method used by Indigenous North American farmers for centuries: corn, beans, and squash planted together in a symbiotic cluster.
Why beginners should try companion planting:
- It naturally reduces pest pressure without chemicals.
- It improves soil health as legumes fix nitrogen.
- It makes efficient use of vertical and horizontal space.
- It produces a diverse harvest from a single bed.
A simple companion planting layout for beginners might pair tomatoes with basil (basil is thought to repel aphids and improve tomato flavor), carrots with onions (onions deter carrot fly), and lettuce under taller plants that provide afternoon shade in hot climates [10].
The mixed bed approach requires a little more planning than a simple row or grid, but it pays dividends in reduced pest problems and a more resilient garden overall.
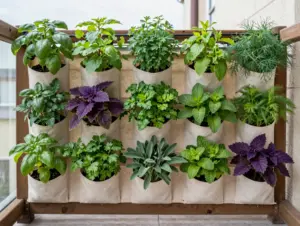
7. The Vertical Garden Wall
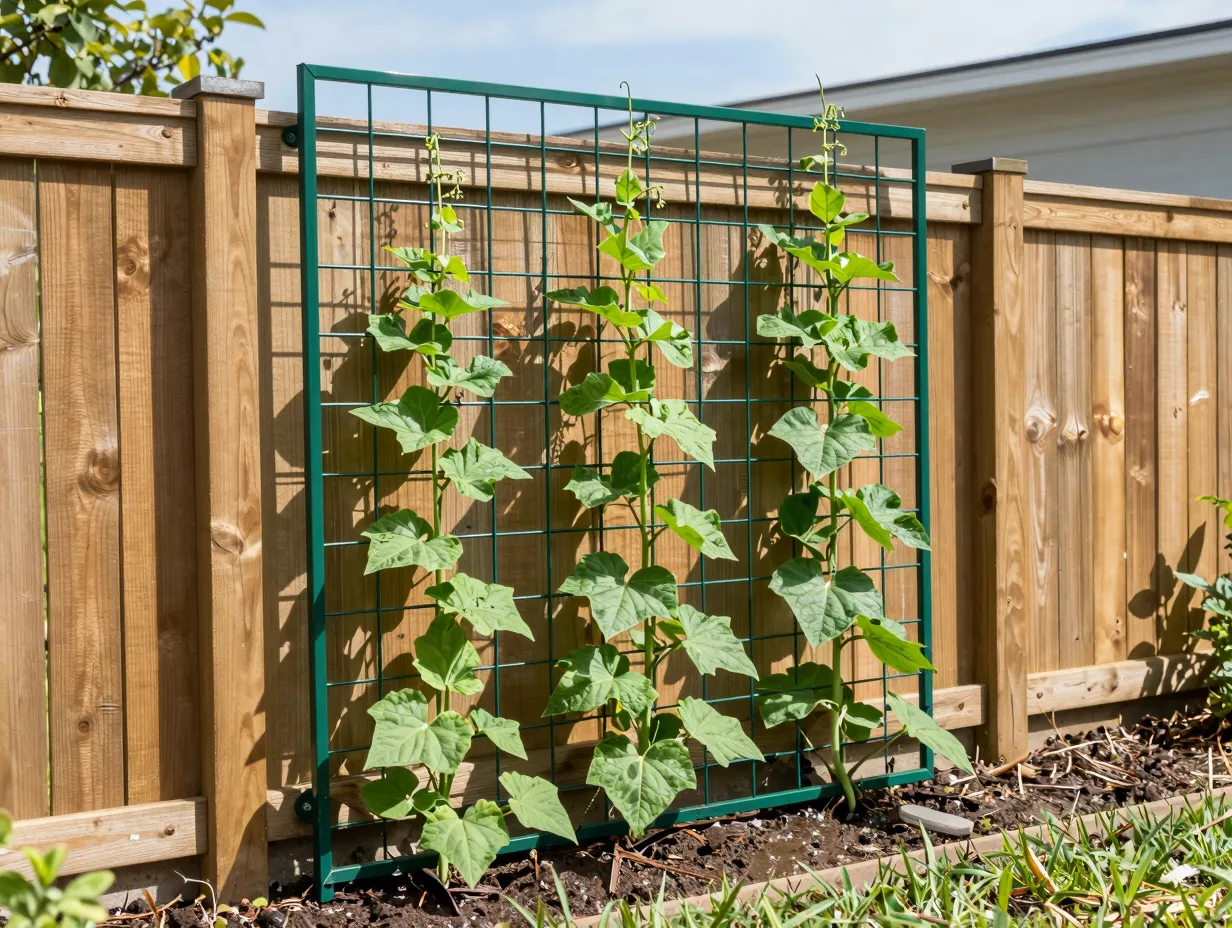
Vertical gardening means training plants to grow upward on trellises, fences, or wall-mounted structures rather than sprawling outward. For beginners with limited horizontal space, this layout idea is transformative [9].
Plants that thrive vertically:
- Pole beans
- Cucumbers
- Peas
- Small-fruited squash (with sling support)
- Climbing nasturtiums
A simple vertical layout involves placing a trellis or wire mesh panel along a fence or wall and planting climbing crops at its base. The vertical structure should be on the north side of your plot so it does not cast shade over lower-growing crops.
Vertical gardens also improve air circulation around plants, which reduces fungal disease, a common problem for beginners who over-water or live in humid climates [9]. A single 6-foot trellis panel can support enough pole beans to feed a family of four through summer.
8. The U-Shaped Raised Bed System
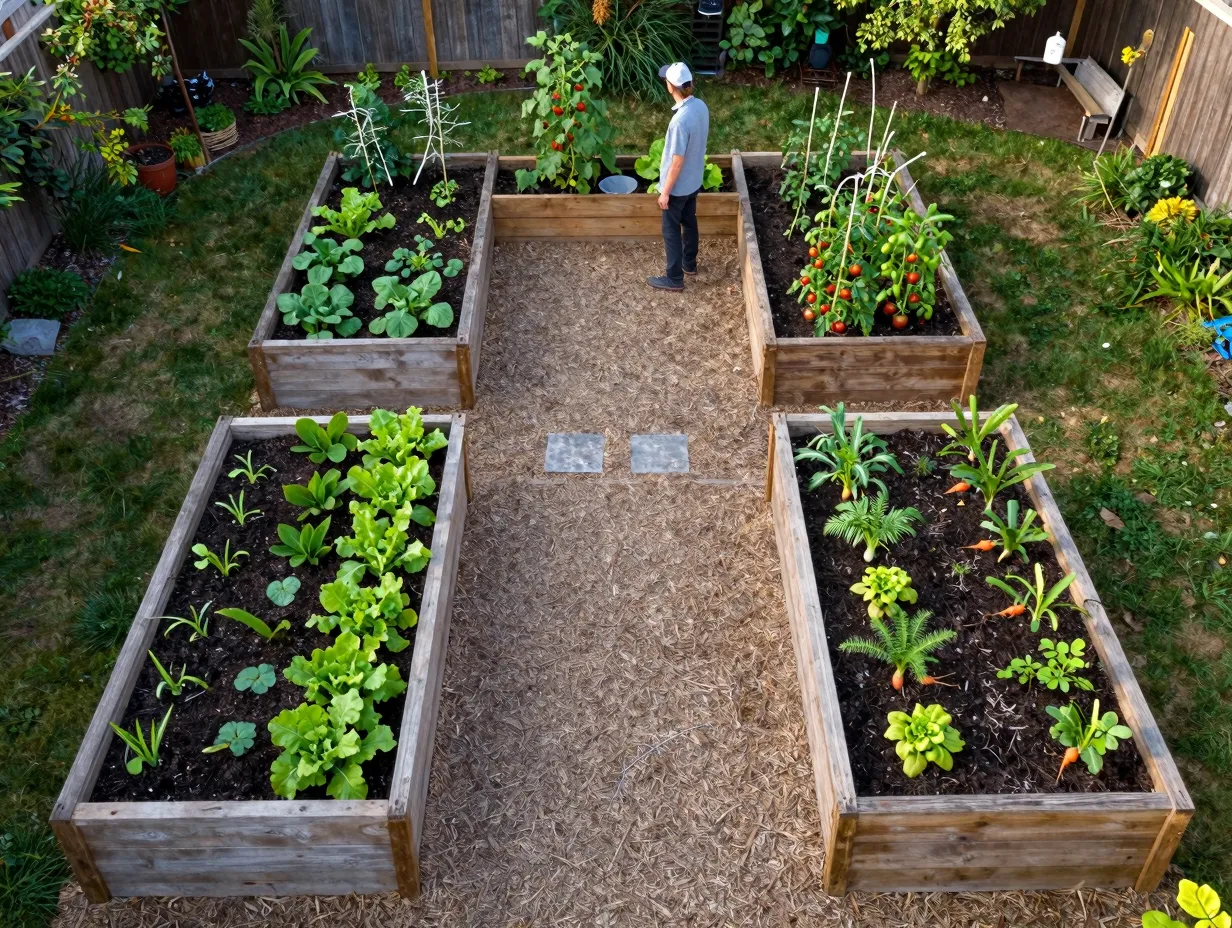
The U-shaped raised bed is essentially three raised beds arranged in a U configuration, creating an enclosed working space in the center. This layout is ideal for gardeners who want to scale up slightly from a single bed while keeping everything within easy reach.
Typical dimensions:
- Three beds, each 2 feet wide and 4-8 feet long
- Central working space: at least 3 feet wide so you can turn around comfortably
- Bed height: 12-18 inches for comfortable working without bending
The U-shape creates a natural microclimate. The surrounding beds trap warmth and shelter central plants from wind, which can extend the growing season by a week or two in cooler climates [4].
This layout also makes excellent use of corner spaces in a backyard. You can dedicate each arm of the U to a different crop category: one for leafy greens, one for root vegetables, and the back section for taller fruiting plants like tomatoes or peppers.
For beginners who are ready to move beyond a single bed in their second or third season, the U-shaped system is a natural and manageable step up [1][4].
How To Choose the Right Layout for Your Space
With these 8 beginner-friendly garden layout ideas to grow your first plot in front of you, the next question is which one fits your specific situation. Here is a quick decision framework:
| Your Situation | Best Layout |
|---|---|
| Absolute first-timer, small yard | 4×8 Raised Bed Grid |
| Renter or patio gardener | Container Cluster |
| Larger open plot, want simplicity | Single-Row Traditional Layout |
| Very limited space, want maximum yield | Square Foot Garden or Vertical Wall |
| Awkward corner or small circular area | Keyhole Bed |
| Ready to scale up from one bed | U-Shaped Raised Bed System |
| Want natural pest control | Companion Planting Mixed Bed |
Common Beginner Mistakes That Good Layout Planning Prevents
Even with the best layout ideas in hand, a few common errors can undermine a first-year garden. Knowing them in advance is half the battle.
Planting too much, too soon. New guides in 2026 consistently recommend limiting your first-year garden to 3-5 core crops [1][7][8]. More variety sounds exciting but it multiplies the learning curve. Each new crop brings new watering needs, new pest threats, and new harvest timing to track.
Ignoring sun patterns. Before you build or plan anything, spend a day observing how sunlight moves across your intended plot. Most vegetables need 6-8 hours of direct sun. A layout that looks perfect on paper can fail completely if the area is shaded by a fence or tree for half the day.
Skipping the path planning. Paths feel like wasted space when you are planning on paper, but they are essential in practice. Without clear paths, you will inevitably walk on your beds, compacting the soil and damaging roots [1][3]. The 2-foot minimum path width is not a suggestion.
Planting tall crops on the south side. In the Northern Hemisphere, tall plants on the south side of a bed will cast shade over everything behind them. Always place tall crops on the north side of your layout [10].
A Simple First-Season Planning Process
Once you have chosen a layout from these 8 beginner-friendly garden layout ideas to grow your first plot, follow this straightforward process before you break ground:
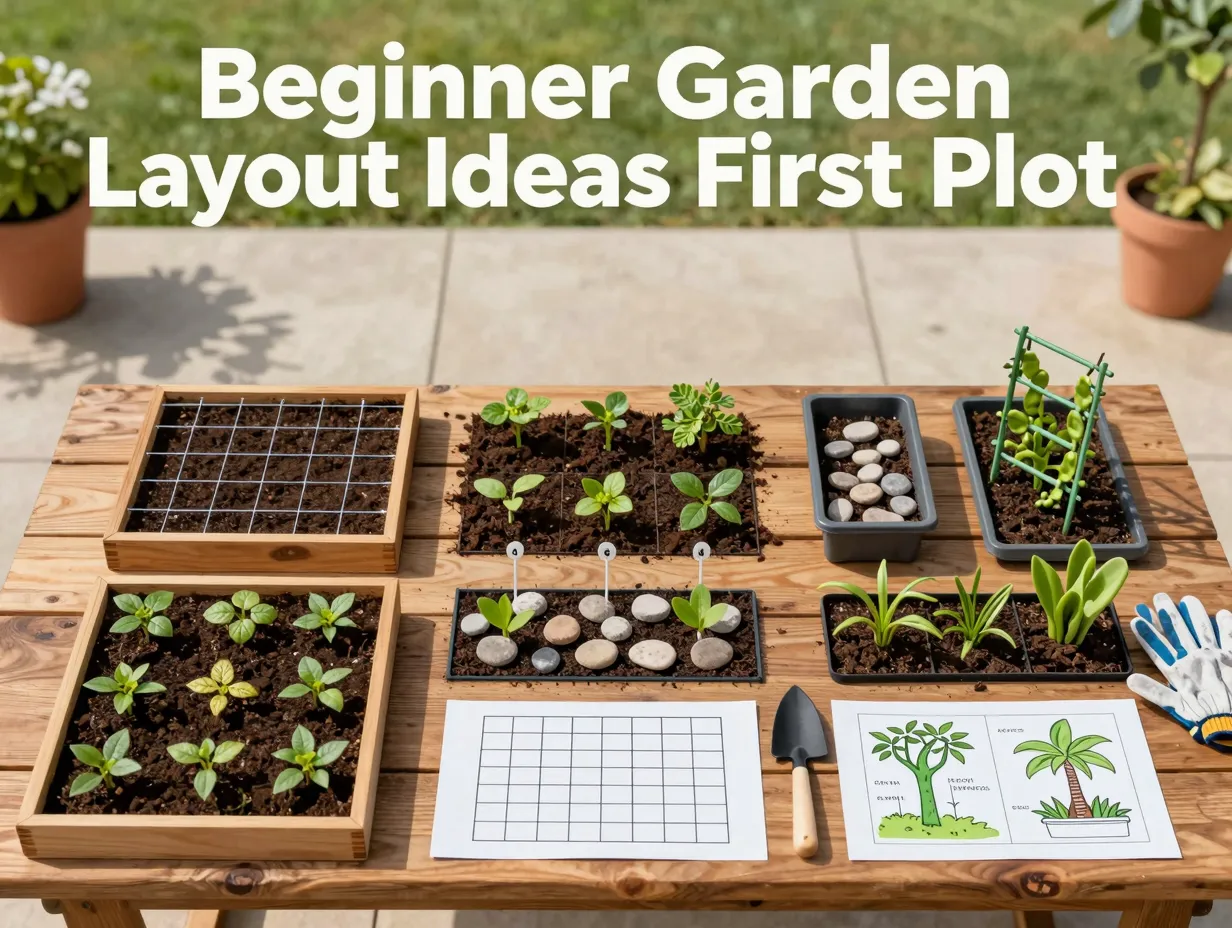
- Sketch your chosen layout on graph paper, using 1 square = 1 foot.
- Mark the north direction and note any shade sources (fences, trees, buildings).
- Choose 3-5 crops and note their mature height, spacing needs, and days to harvest.
- Assign each crop to a section of your layout, placing tall plants to the north.
- Calculate how much seed, transplants, and compost you need based on your bed dimensions.
- Set a simple watering schedule before you plant, not after.
This process takes about an hour and saves dozens of hours of frustration later. Free online planning tools like Plot My Garden offer templates that make the sketching step even faster [3].
“The best garden is not the most ambitious one. It is the one you can actually manage, harvest, and learn from.” – A principle echoed across every beginner gardening guide in 2026 [1][7].
Conclusion
Every successful garden starts with a decision to keep things manageable. The 8 beginner-friendly garden layout ideas to grow your first plot covered in this article, from the classic 4×8 raised bed grid to the U-shaped system, are all designed around that same core principle: start small, stay organized, and build confidence through early wins.
Your actionable next steps for 2026:
- Choose one layout from this list that matches your available space and situation.
- Sketch it on graph paper or use a free online template [3].
- Select 3-5 crops that suit your climate and cooking habits.
- Build or mark out your bed, establish clear paths, and prepare your soil before planting.
- Keep a simple journal of what you plant, when you water, and what problems you notice. That journal becomes your most valuable resource for next season.
The first plot is always the hardest. Once you have grown one successful season, every layout decision in the future becomes intuitive. Start with one of these eight ideas, commit to it fully, and let the results teach you the rest.
References
[1] Planning Your 2026 Edible Garden From Paper To Planting – https://townandcountryhaddam.com/2026/04/01/planning-your-2026-edible-garden-from-paper-to-planting/
[2] Beginner Basic Vegetable Garden Layout Made Easy – https://www.stellaswardrobe.com/beginner-basic-vegetable-garden-layout-made-easy/
[3] Templates – https://plotmygarden.com/templates
[4] Garden Layout Ideas – https://www.stewartmilnehomes.com/garden-layout-ideas/
[6] 10 Inspiring Small Backyard Garden Design Ideas For 2026 – https://www.dreamzar.app/post/10-inspiring-small-backyard-garden-design-ideas-for-2026
[7] Beginner Garden Layout – https://lifetips.alibaba.com/plant-care/beginner-garden-layout
[8] How Lay Out Vegetable Garden – https://www.almanac.com/video/how-lay-out-vegetable-garden
[9] Making The Most Of Limited Space Small Garden Ideas For Spring 2026 – https://vegplotter.com/blog/making-the-most-of-limited-space-small-garden-ideas-for-spring-2026
[10] How To Plan Your Perfect Vegetable Garden – https://www.growveg.co.uk/guides/how-to-plan-your-perfect-vegetable-garden/